


DIY Your Quilting Studio
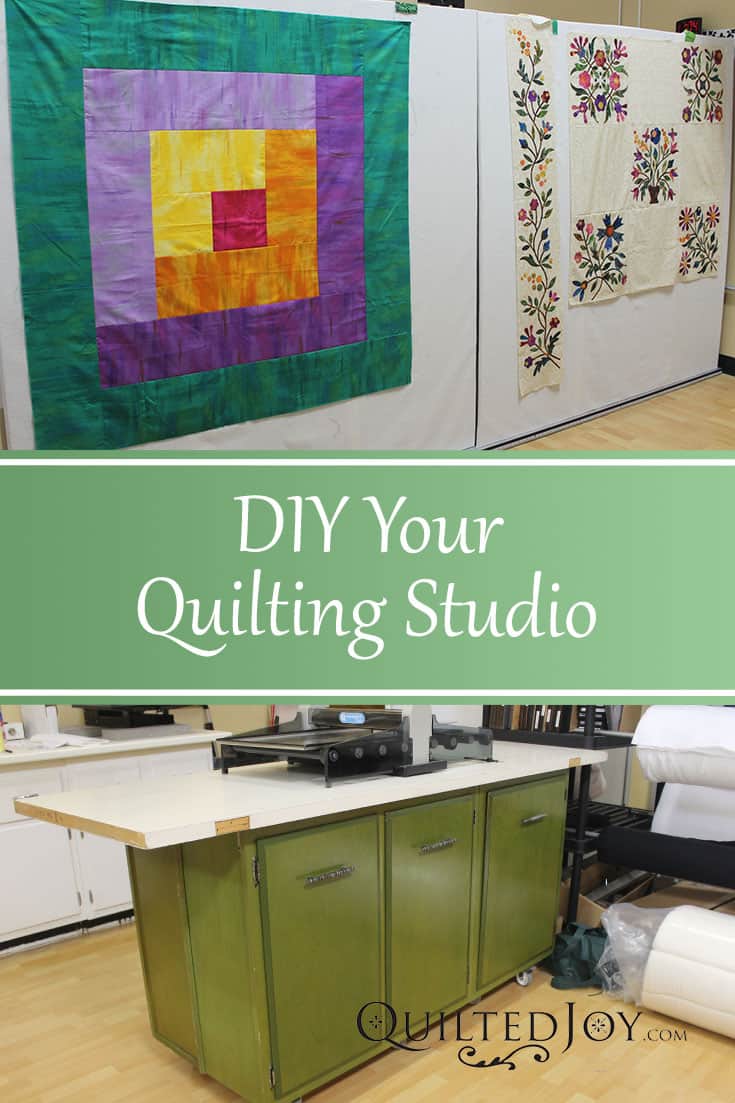
Who doesn't love a good do it yourself project? With the all the summer yard sales popping up, I thought we'd take a look back at some of the ways you can DIY your quilting studio with a few simple projects.
Cutting Board From 2x4's and an Old Ping Pong Table
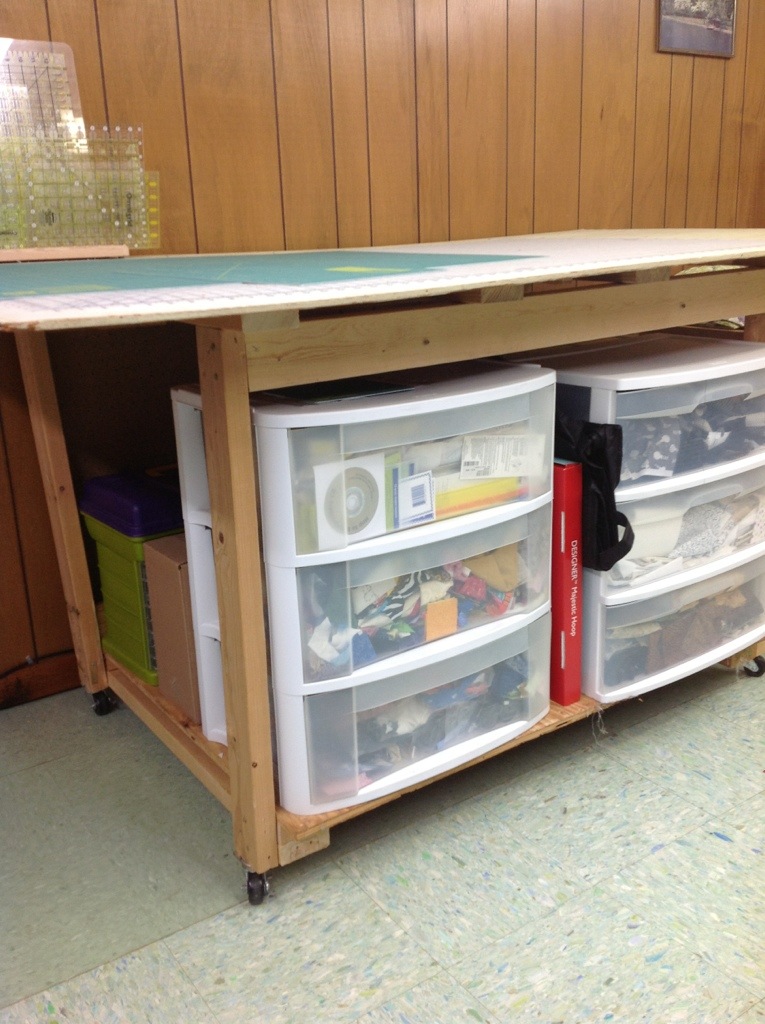
Who would have thought you could use a ping pong table for quilting? It's so cool how you can take something that was made for one very specific purpose and give it a whole new life! The table is made from 2x4 pieces of lumber that were screwed together. I added locking casters to the feet so I could easily move the table around the room. The ping pong table top was big enough that I could easily place my huge cutting mats on it. Because I put the legs together, I made the table just tall enough to fit my three tier storage containers - the ones you can get at most department and super stores. Just be careful if you ever have to take it apart and put it back together! When I moved I somehow put it back together 3" taller than it should have been. It took me a while, but I did eventually get it back to the right height.
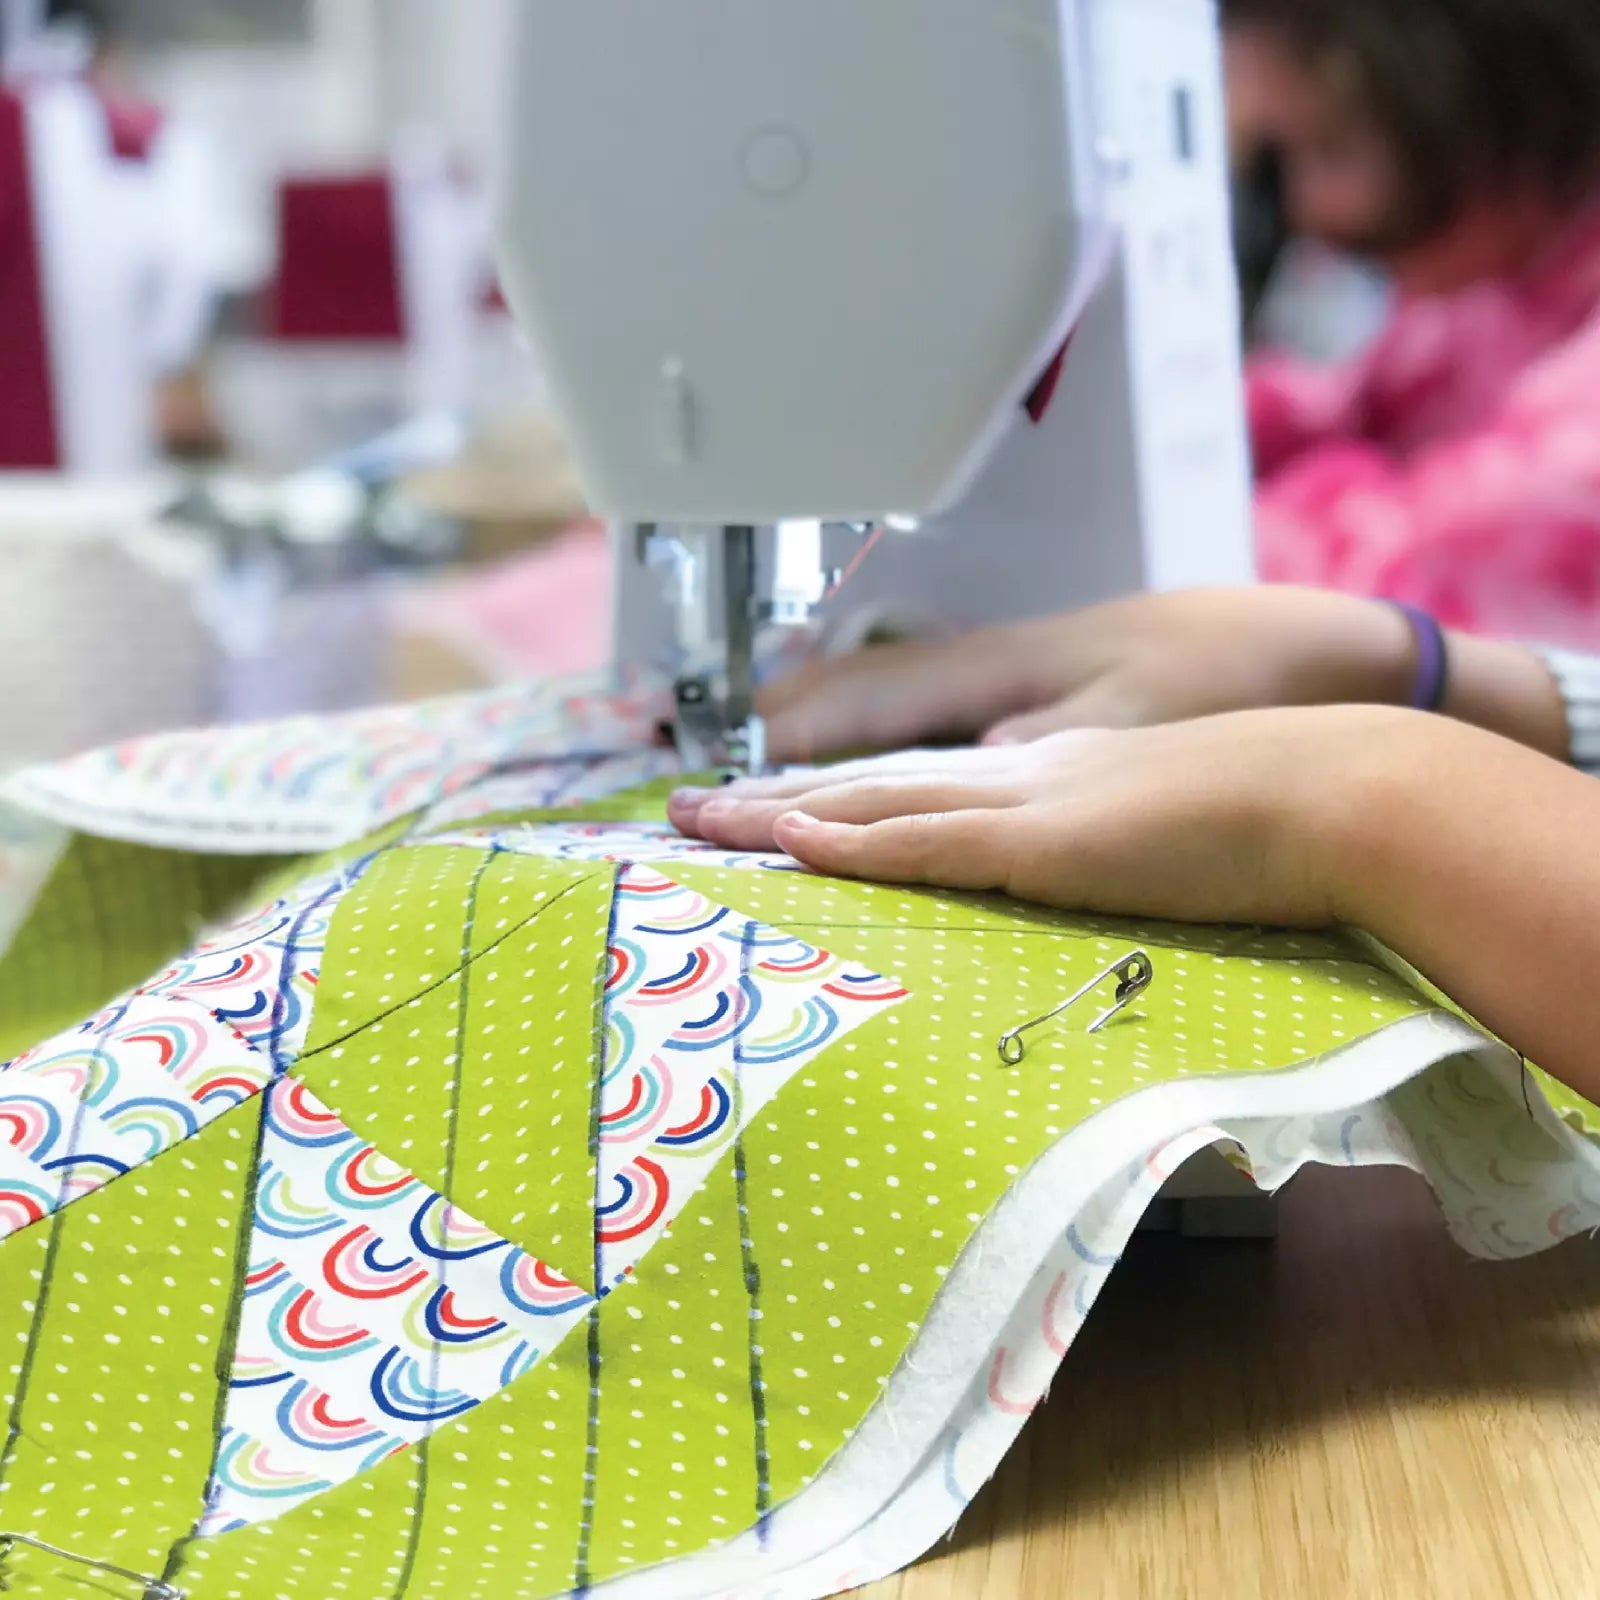
Sewing Machine Table
Instead of having my sewing machine sitting on top of a table, I decided I wanted lots of room to move my fabric around and give myself space for larger pieces. This old table was once a kitchen table. I bought a plexiglass insert from Dream World and cut a hole to match the dimensions. Avoid the temptation to set your machine in the center of the table, place it a little to the right to give yourself extra room for moving around your fabric!
Big Ironing Board Station
This one is super easy! All you need is a table, a piece of plywood, foil, cotton batting, and cotton muslin. The next time you're at a yard sale or in a consignment furniture store be on the lookout for a sturdy table. You want it tall enough to fit some storage containers, but not so tall you can't easily reach across it. The ironing board is plywood wrapped with a layers of foil, cotton batting, and cotton muslin. This way I can iron much more yardage than with a typical triangular ironing board.
Storage and Die Cutting Station
I found a whole collection of green cabinets while browsing through my local Habitat Restore (one of my favorite places to find affordable items for home and the showroom). I bolted the cabinets together and added locking casters to make it more mobile. Now if you thought using an old ping pong table top as a base was funny, then you might find this hilarious. I'm using a solid core door for the top of this cabinet! It may seem a little unusual, but it works perfectly for my needs, and most people don't even seem to notice. I use this cabinet in the showroom for the AccuQuilt Fabric Die Cutter, but it could be used for just about anything. It doesn't hurt that it also has tons of built in storage!
Design Wall
This is by far my most popular post to date. And I still love my amazing design wall! This requires a bit of work, but is definitely worth it. You'll need 3/4" thick insulation boards (you can find them at any home improvement store), quilter's flannel to wrap around the boards, 505 Temporary Adhesive to prevent droopiness over time, double sided duct tape, and industrial velcro. Depending on how big you want your design wall, you might also need some regular duct tape to tape together two pieces of insulation board. You could use any kind of fabric to wrap around your design boards, but I prefer the flannel. White fabric can create too much contrast which is why I like the creamy color of the flannel. On a previous design wall I tried using a poly batt, and that was a disaster! My blocks never wanted to stick to it. This design wall works great and looks amazing!
For a Little Extra Fun: Displaying Vintage Tops
I've never actually made one of these, but I think they're just too cool not to share! I was browsing through a thrift store and found these vintage quilt displays made from old mirror frames. I think this is such a clever way to bring new life to an old quilt that might be falling apart in some places. Pay close attention to what's available at your local thrift stores or at the next yard sale. You never know what you'll find, and with a little creativity you might discover your next piece of sewing furniture!
I’m Angela- Co-host of the Fons & Porter’s Love of Quilting PBS show. APQS Long arm Dealer and Educator. Triplet Momma. Designer. Thread Bimbo.


Leave a Reply