Video Tutorial: How to Audition Paper Pantographs on Your Quilt

There are tons of ideas for how to audition quilting motifs on your quilt top, but what about auditioning paper pantographs on your quilt tops? There’s so much information included on a paper pantograph, it can be a little hard to picture what it will look like stitched out. In my latest video tutorial I’m showing you how to audition paper pantographs on your quilt. Take a look at the video below.
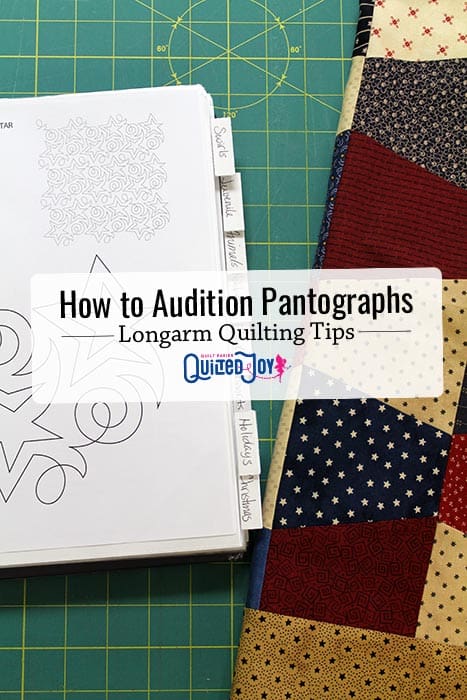
In the past I've shared how I digitally organize and search through my thousands of quilting designs. As Quilted Joy has grown and changed, I've also added a simple analog system. When customers drop off a top for quilting we flip through a three ring binder of all my digital quilting designs. I have the designs separated into sections such as feathers, swirls, stars, holidays, and many, many more.
When Cheri dropped off her red, tan, and blue tumbler block quilt, we knew immediately that she wanted a patriotic themed edge to edge design. We flipped through the pantographs in the "stars" section of the binder, but she was struggling to picture what the design would look like stitched out on her quilt top. Each page shows an image of the pantograph and a preview of the rows nested together. But Cheri wanted a better idea of the size of the pantograph stitched out on her quilt. We needed a better way to audition paper pantographs directly on her quilt top.
Shop Paper PantographsArdelle from Rose City Quilter originally shared this idea a few years ago. This is such a simple method to visualize a pantograph! And I bet you already have most of the supplies you need to make these.
Make Your Own Paper Pantograph Preview Sheets
The only supplies you need are:
- Scissors
- Permanent marker
- Sheet Protectors with three holes for a binder
Here’s how to make these paper pantograph preview sheets:
- Cut off the bottom edge of the sheet protector. This will create an opening at both ends of your sheet protector.
- On the three ring binding side of the sheet protector, cut only the top edge. Try to keep your scissors as close to the edge as you can. Now you have one long sheet of plastic.
- Open up the sheet protector and lay it over your paper pantograph.
- Trace the pantograph with your permanent marker. I write the pantograph’s name on the white binding of my sheets.
Wasn’t that easy? When you need to audition paper pantographs, you can lay the sheets over your quilt top. Now you can easily see how the size and density of the panto will look stitched out on your quilt. Because I left the three ring binding edge on the sheet, I can easily store these pantograph previews sheets in a binder.
New to Machine Quilting?Visit the Quilted Joy Learning Center!
Discover even more longarm quilting tips in Quilted Joy's Learning Center! Grow your skills with tons of helpful longarm quilting tutorials, videos, articles, and downloadables.

I’m Angela- Co-host of the Fons & Porter’s Love of Quilting PBS show. APQS Long arm Dealer and Educator. Triplet Momma. Designer. Thread Bimbo.


Leave a Reply