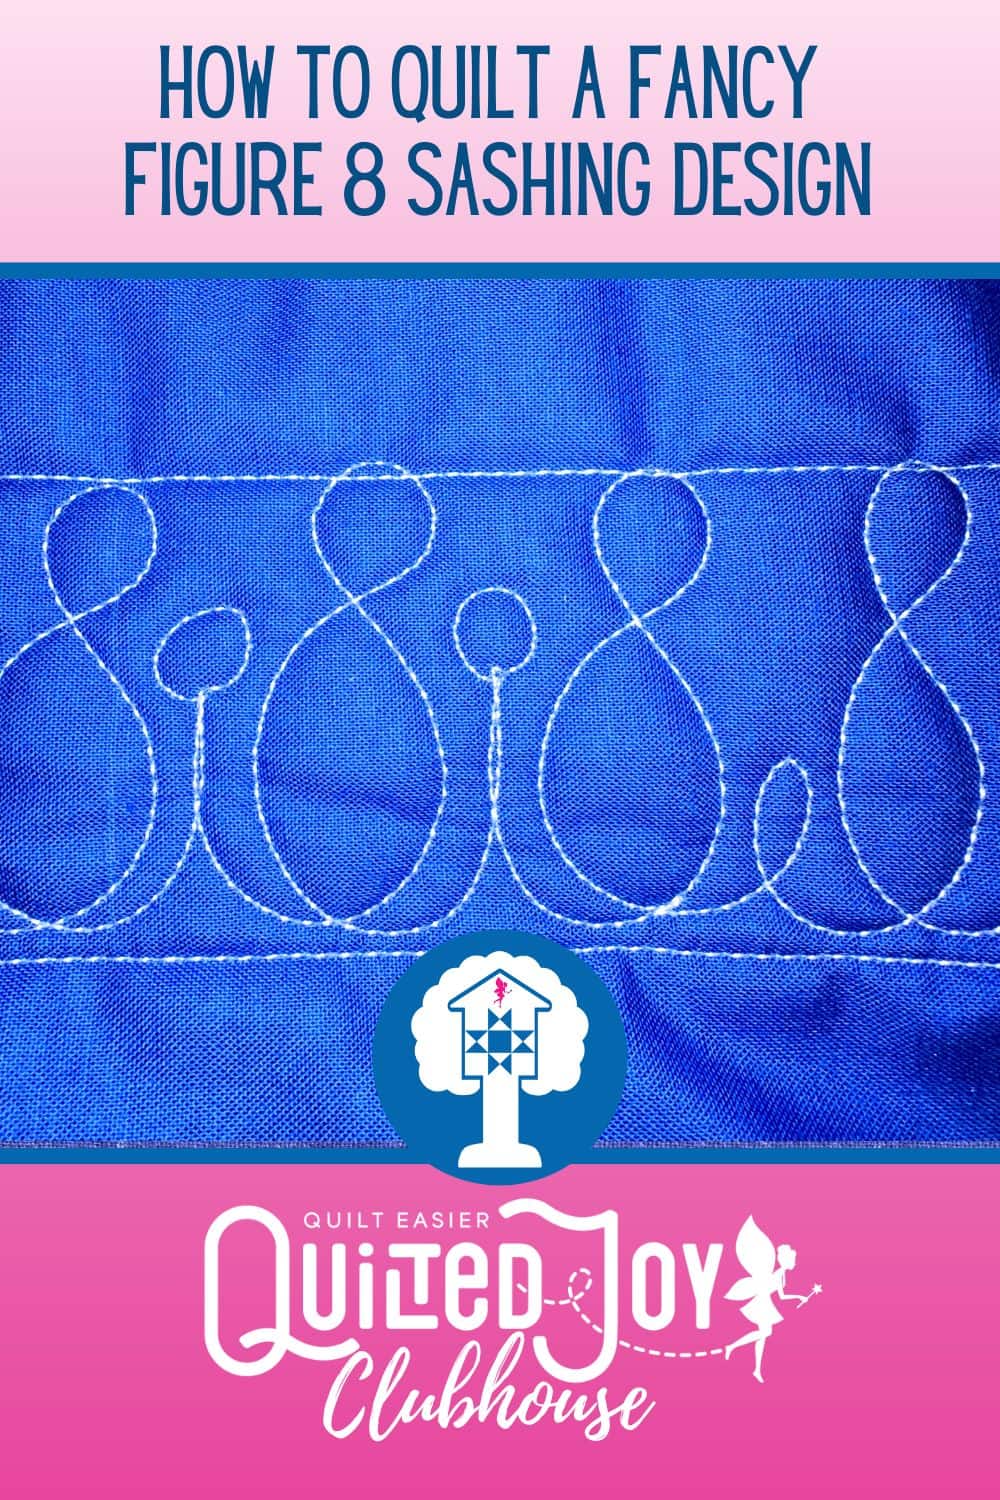
Video Tutorial: How to Quilt the Curly Clover Border Quilting Design

I've got another fun quilting video tutorial to share with you today. I'm calling this border design the Curly Clover. Watch the video below to learn how to quilt the curly clover border!
How to Quilt the Curly Clover Border
The Curly Clover border design is really only comprised on one element - a curl. I love quilting with curls. They're really simple and very effective. And, with just a slight change to your backtracking your curl can have a dramatically different look!
If you're going to quilt the curly clover in a border or sashing space like I did in the video, start at the bottom edge of your space. Swing up to create a stem for your clover. Now, quilt three curls around the stem to make the petals of your clover. Then follow the stem back down to the bottom of your space. It's that simple!
I like to break up the design with a little shape in between my clovers. For the video I quilted little "i" shapes, but you could add whatever you'd like. You could quilt a pebble. Look for shapes in your quilt's design or the prints in your fabrics that you could easily quilt. Or simply leave it open and unquilted.
What kinds of quilts can you envision the Curly Clover border in? I think it would be perfect for a floral quilt or even a St. Patrick's Day themed quilt! Or there are lots of fabulous panels featuring butterflies and bees. Wouldn't the clovers be fabulous between the bees?
Now that you know how to quilt the curly clover design, it's your turn to give the Curly Clover border a try! I would love to see your version of this design. You can share pictures of your quilts with me at the Quilted Joy Facebook Page, tag me on Instagram, or join the community in the Quilted Joy Clubhouse!
If you would like to explore more tips and tricks for longarm quilting don't miss the Quilted Joy Learning Center!

I’m Angela- Co-host of the Fons & Porter’s Love of Quilting PBS show. APQS Long arm Dealer and Educator. Triplet Momma. Designer. Thread Bimbo.


Leave a Reply