Video Tutorial - 5 Tips for Choosing a Paper Pantograph
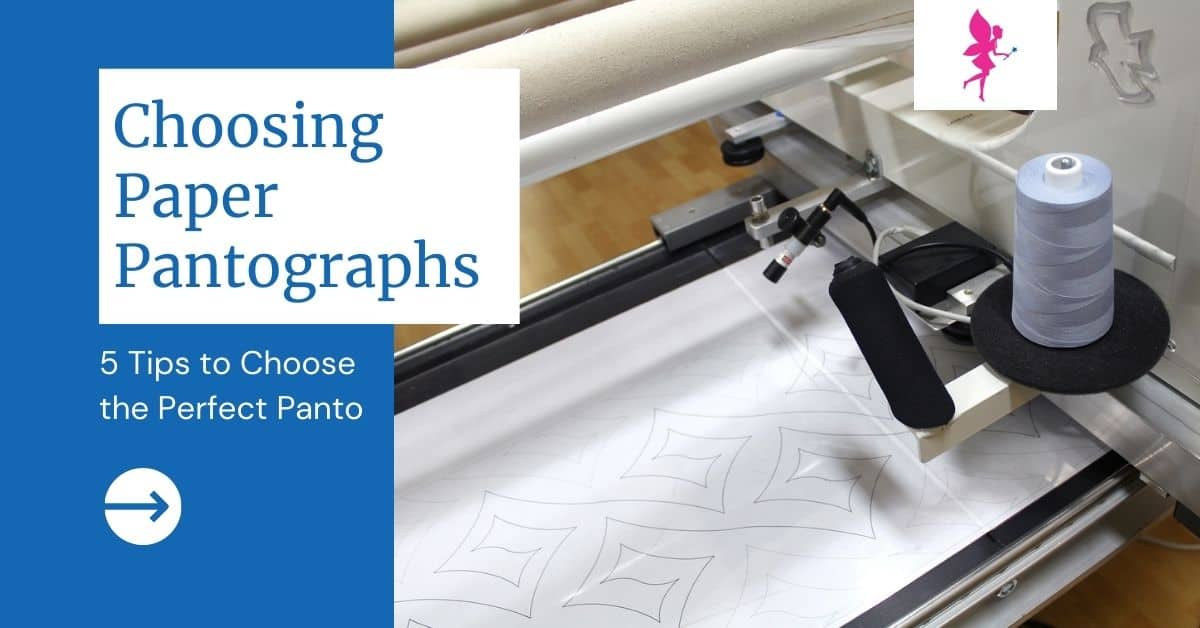
There are several different ways you can quilt a quilt with a longarm machine. A popular method for many quilters is to use paper pantographs. These 12 foot to 14 foot long papers have a continuous line design printed on them. The pantographs sits behind and below your longarm machine and you trace the design with a laser light attached to the machine. Because paper pantographs are so popular, there are thousands of them available all over the internet. The number of designs available can be a little overwhelming to new long arm machine owners, so we wanted to share our top 5 tips for choosing a paper pantograph!
Find Your New Favorite Paper Pantograph
1. Thumbnail Preview
A little preview of your paper pantograph doesn’t seem like a too important thing. You’ll see the whole sheet when it’s all unrolled after all. But this little preview on your pantograph sheet can be very helpful when you’re sorting through a big stack of rolled up papers and can’t see the design at a glance. The preview on all of our paper pantographs will show you the quilting design in a bold line. In a lighter line it will also show you the ghost rows. Check out item #4 on our list to learn more about ghost rows and why they’re so important.
2. Pattern Size
Your paper pantograph’s pattern size is going to be such an important consideration! The pattern’s size is the width of the paper pantograph from its lowest point to it’s highest point. The pattern size is also how much of your quilt you’ll quilt with each row of your pantograph. In the video above, we looked at the Star Dance paper pantograph which is 8.5” wide. So each time we quilt a row of the Star Dance pantograph, we’re quilting an 8.5” section of the quilt. If you’re quilt is 100” long, you’re going to quilt about 11 rows of your pantograph. Instead, if you used a pantograph like Swirly Stars that’s 13.5” wide, you’d only quilt about 7 rows. So maybe you’d prefer a bigger pattern so you’re quilting a larger section of your quilt with each row. It’s easy to think that the solution is to always use the biggest paper pantographs you can find. But be mindful of your longarm machine’s throat size. As you quilt, your actual quilting space will shrink as more of the quilt sandwich rolls around the quilt take up bar where your machine runs into it. To ensure you can quilt your entire quilt with a pantograph without running out of room, we recommend these pattern sizes for the different longarm machine throat sizes:
- 18”-20” throat machines should stay around 9” or less
- 26” throat machines should stay around 13” or less
- 30” throat machines should stay around 16” or less
3. Density Level
The density level is how close together the quilting lines are. If the quilting lines are very close together, then the pantograph has a higher density. When quilting lines are further apart the pantograph has a lower density. Patterns with higher densities are a little more challenging to get used to, especially for beginners. When those lines are closer together, it’s easier to lose track of where you’re going or to accidentally hop onto a different line. Some quilters also prefer quilting designs with more or less density. I recommend having a variety of densities in your pantograph collection so you always have lots of options to choose from!4. Ghost Rows
 Most modern paper pantographs (and all the paper pantographs in the Quilted Joy store) will have the main pantograph that you’ll follow with your laser light printed in a dark black line. Above and below that line will be two “ghost rows” printed in a thiner, light gray line. The ghost rows are used for realigning your pantograph after you’ve advanced your quilt for the next row. It is possible to realign your pantograph without the ghost row, but having these target points will make your quilting so much easier!
5. Interlocking Designs
 Those ghost rows serve another important feature - they’ll show you how the rows of your pantograph will interlock or tuck into each other. At the start of the video above, we showed you one of our older paper pantographs with flip-flopping hearts. That pattern was very linear with an even top and bottom to the pattern. When it’s quilted, the rows of the pantograph will all look very distinct. Instead, look for pantographs that nest together, with the rows tucking into each other. Take a look at the Bolero Paper Pantograph pictured here and mentioned in the video above. Do you see how the row travels up and down a little and the orange ghost rows tuck nicely into the main row? It helps to hide the row of the pattern and is pleasing to the eye.

Discover even more longarm quilting tips in Quilted Joy’s Learning Center! Grow your skills with tons of helpful longarm quilting tutorials, videos, articles, and downloadables.

I’m Angela- Co-host of the Fons & Porter’s Love of Quilting PBS show. APQS Long arm Dealer and Educator. Triplet Momma. Designer. Thread Bimbo.



Leave a Reply