A Simple Guide to Creating an Adorable Pillowcase
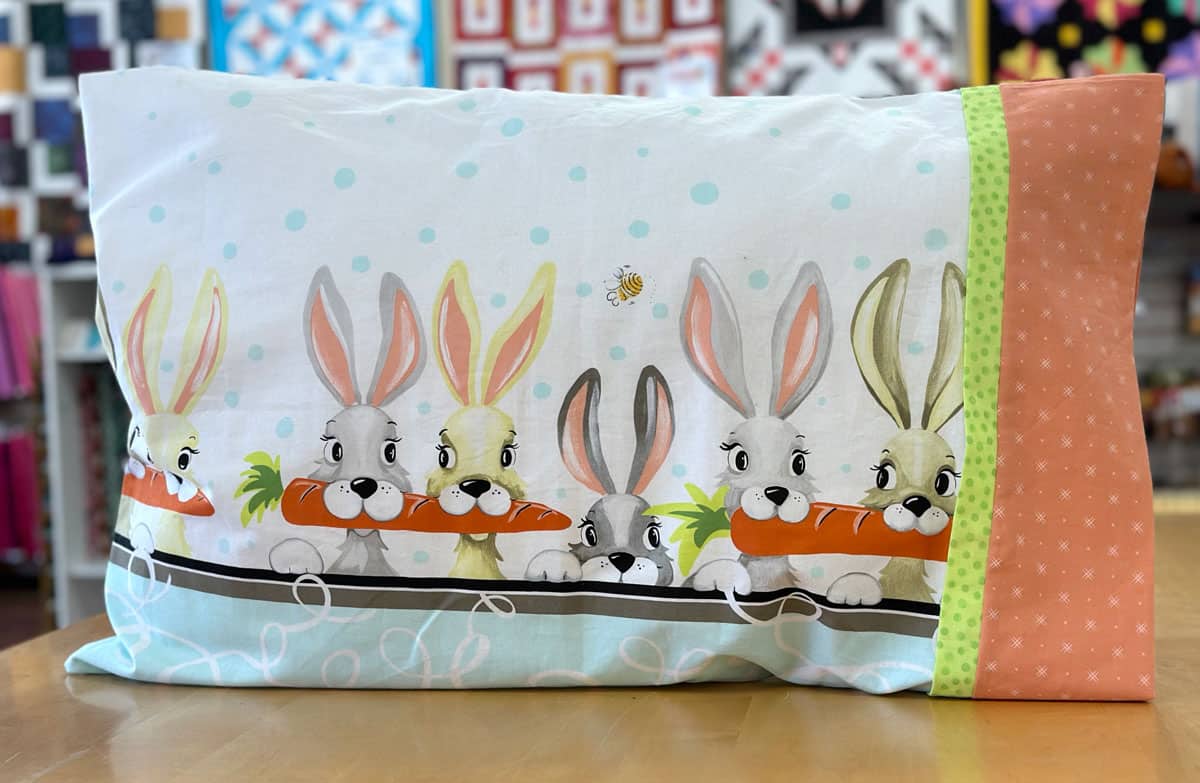
Want to make something simple that everyone has but could always have another? Something that can be cuddled and loved while simultaneously being very useful? Do you want to add color or a little bit of comfort to someone far from home? Have you thought about a pillowcase? These handy simple creations can really brighten up a dorm room, a camp bunk, or a hospital bed like nothing else. And they are so simple to make. Let me show you how.
Begin by selecting your fabrics. You are going to need one fabric that will be the main body of the pillow case. Three fourths of a yard by the width of fabric(27” x 42”- 44”) will create a pillow case that fits most standard pillows. If you want to make a King sized or body pillow case you’ll need a full yard to a yard and half to fit.
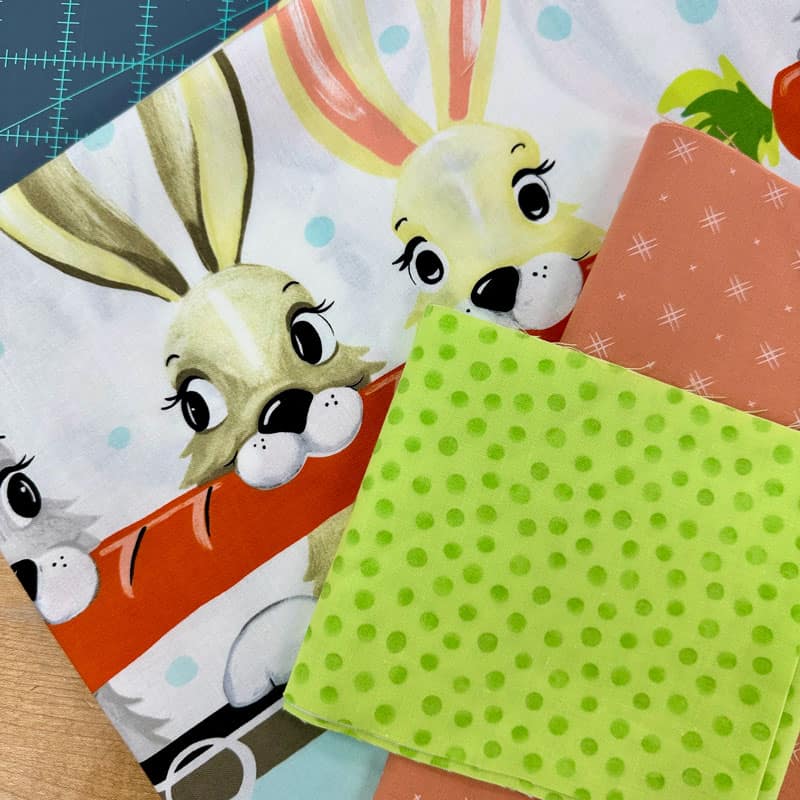
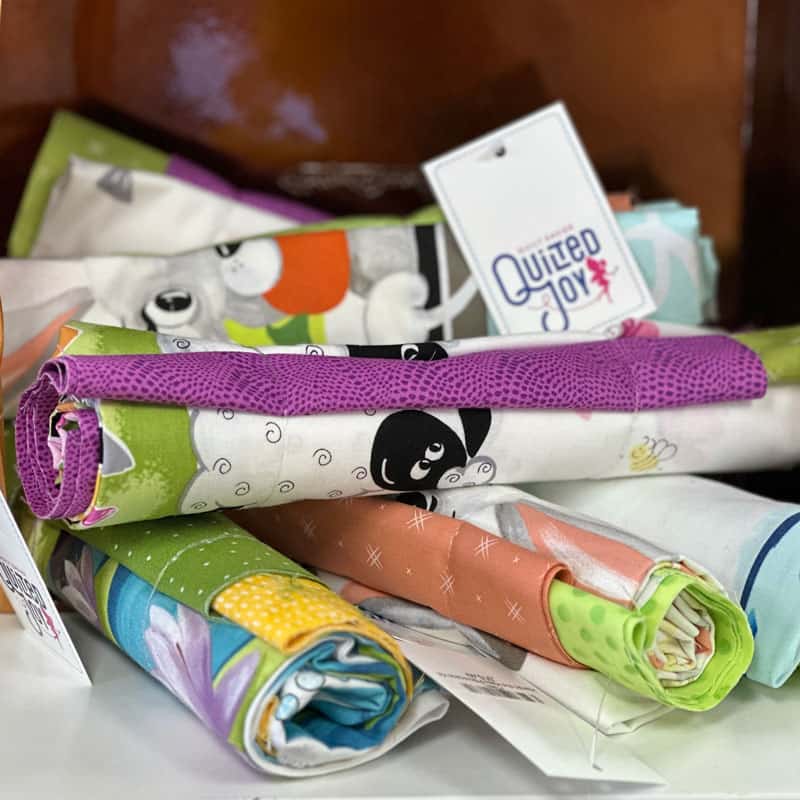
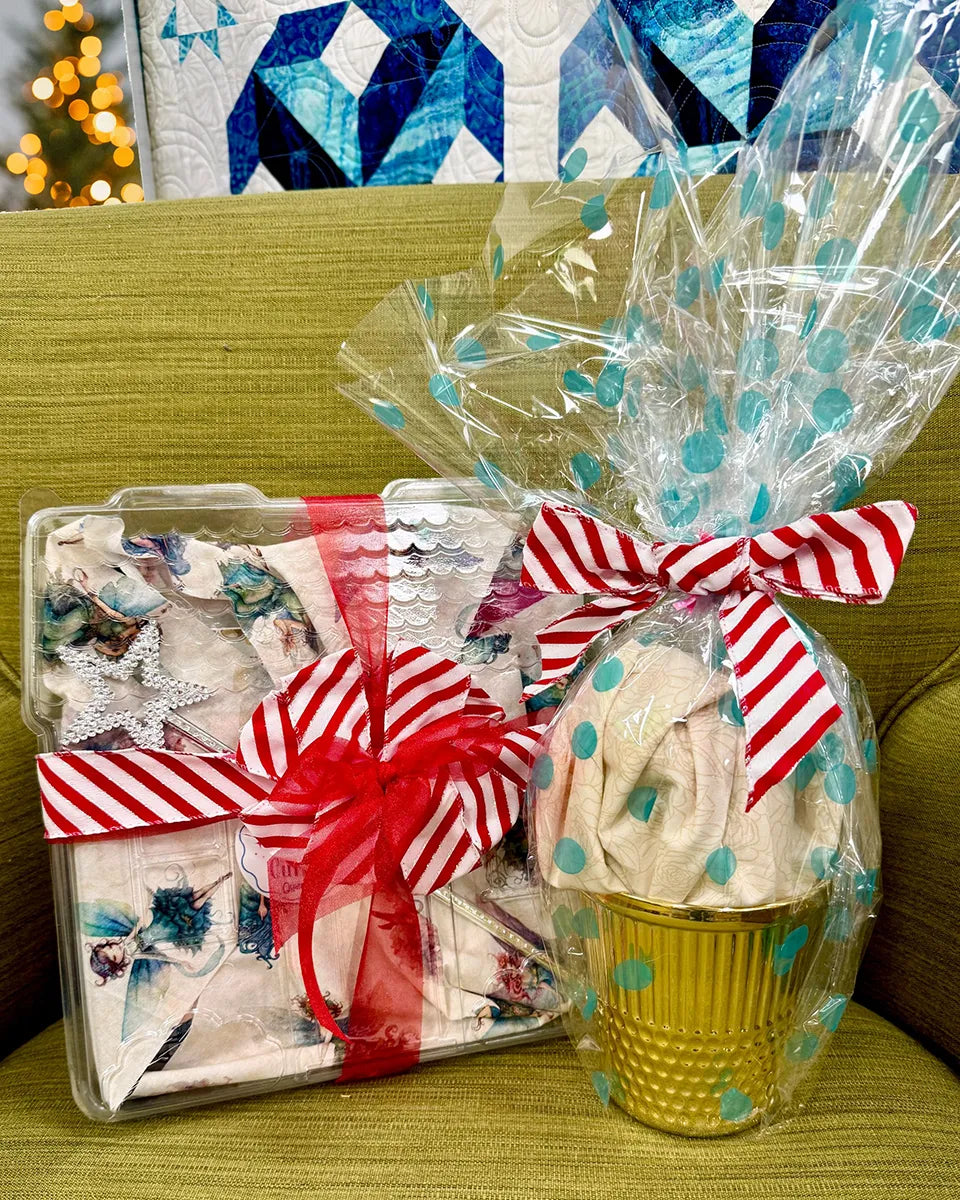
There are some fantastic prints available, such as these Suzy Bee double border fabric designs, that are perfect for creating your own pillowcases. To make the process even easier, we now offer ready-made pillowcase kits. These kits provide everything you need to craft your own beautiful pillowcases effortlessly
Now, choose a piece for the cuff, about 9” (a quarter yard) by the fabric width, to complement your main fabric. Whether you opt for a serene solid color or repurpose vibrant quilt blocks for a splash of personality, the possibilities are endless. Remember, this cuff will fold and only its outer beauty will show.
You also have the option of adding an additional fabric to add some pizzazz. This trim piece should be two and half inches by width of fabric. That added pop doesn’t even need to be fabric. You could add a ribbon, lace, or any other soft trim that you wanted. I used a 2 ½” x 44” strip of fabric pressed in half with the wrong sides together.

Once your fabric is prepared, it's time to assemble them. Begin by laying the cuff fabric face up, fully spread out before you. The top edge will serve as the visible outer edge of the cuff. Place the trim face down along this edge and secure it with pins to the cuff. Next, position the main body fabric face down on top of the trim and pin it in place. Then, take the opposite end of the main fabric and roll it tightly toward the pinned edge. This roll should be compact enough to allow you to wrap the opposite edge of the cuff fabric around the rolled layers, pinning it face down alongside the other edges.


Proceed to sew along the length of this rolled bundle, penetrating through all five layers of fabric (cuff, trim, trim, main, cuff), securing them together.

The unsewn edges might not all match if your different fabrics weren’t all the exact same width to begin with. That’s okay. The next step is to trim them, but first we need to turn and press them. Grab the main fabric just inside the open end of your bundle and start to pull it out from the surrounding cuff fabric. Once out, press it all to create that decorative outside edge of your pillow case. Using a rotary cutter, trim the un-sewn edge of your pillow case so that all the fabrics are flush and straight.


Using a rotary cutter, trim the un-sewn edge of your pillow case so that all the fabrics are flush and straight.

Fold this in half, wrong sides together (you read that right!) so the right side of the fabric is out. Be sure to match the cuff with the cuff, trim to trim, and main fabric to main fabric. Sew the two unfinished edges (side and bottom) with a narrow seam allowance (⅛”- ¼”). Turn the pillow case inside out and press the seam flat. Now sew it again, this time right sides together with a generous seam allowance (⅜”-½”). This will enclose the raw edges inside the seam allowance and give you a clean finished edge inside and out of the case. If you have a serger, you could also just serge the seam and be done.


All that’s left is to turn everything right side out and press again. Voila! You have a lovely pillow case to use or give away to the loved one of your choice. I like making matching pillow cases to quilts that I create with the leftover fabric from that quilt. It’s a great way to keep and store your quilts as you can tell which quilt it is from the matching fabric in the pillow case.
The next time you have a loved one going far from home like to school, camp, or a hospital stay, give them a little love in the form of a pillowcase. It can brighten their room and their day.


I’m Angela- Co-host of the Fons & Porter’s Love of Quilting PBS show. APQS Long arm Dealer and Educator. Triplet Momma. Designer. Thread Bimbo.




Leave a Reply