


How Would You Quilt It? Barbara's Tula Pink All Stars Quilt
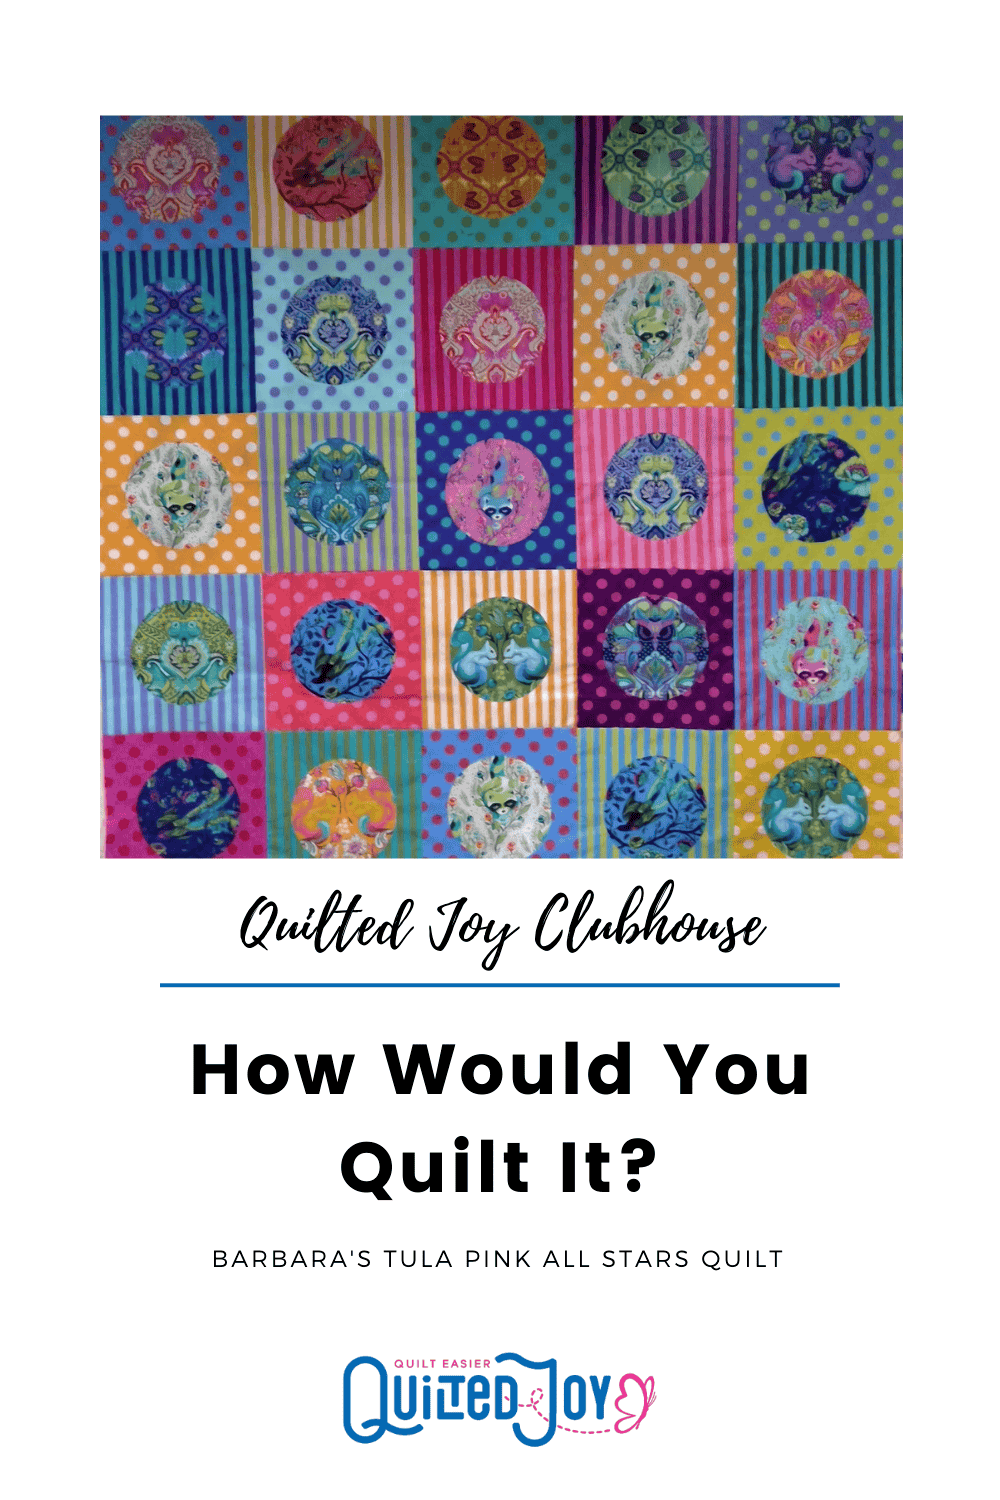
A while back, Barbara shared a picture of her Tula Pink Polka Dot quilt top in the Quilted Joy Clubhouse. Don’t you just love the bright colors and the polka dots and stripes. She also fussy cut the circle medallions so all those circles have a cute colorful animal from the Tula Pink All Stars line. There are raccoons, owls, frogs and squirrels. It’s a lovely top and Barbara did a wonderful job of piecing it together. But how to quilt it?

During our monthly Quilted Joy Clubhouse meetings I spend a few minutes sharing how I might quilt a quilt shared in the Quilted Joy Clubhouse on Facebook. For our November 2019 meeting, I showed how I would quilt Barbara's Tula Pink All Stars quilt. Watch the video below to see how I might have quilted her quilt and read on below!
Getting Started

I noticed that this raccoon was in the center. If I connect the dots so to speak, we can put a frame around the raccoon. I can then continue with that same idea and put a frame around the frame. Now I want to do some free motion quilting and need to have a space to fill. So instead of just simple lines to create the frames, lets use two lines to create a bar between the circles. This I would fill with some wishbone or ribbon candy.
Finding a path among the polka dots

When I first get started, I don’t worry about how to connect my lines. I just want to get the ideas down of what I want the finished product to look like. But now I can see a path. To go forward and not end right back where I started I need to go back and forth an odd number of times. Draw one line to a circle, trace around the circle to where the second line starts and draw that line back to the starting circle. Now do the ribbon candy back to the new circle, where we can go all the way around the circle this time.
Because of the limitations of the batting, there is a minimum amount of quilting that must be done. These circles need to have some quilting done inside because of their size. So I would then drop into the circle and outline the animal inside of it, maybe even some of the flowers, too. Just follow the lines on the fabric. But I would be sure that I am ending at the other side of the circle where I am now ready to create the filled bar to the next circle in line.
Make the corners pop

I still have to do something with the corners. So why don’t we draw some rays out from the polka dot in the center of my last frame. One of the things that you can do that will add dimension and can really make a pop is to add a design behind the piecing. What I mean is to draw the line to the circle, but then continue it on the other side without drawing it across the circle itself. You would also want to outline the circle as well as inside of it just like all the others.
So that is how I would quilt Barbara’s Tula Pink All Stars quilt. I like the frame of the quilting in contrast to the piecing that doesn’t have a border or frame of its own. Barbara actually chose to quilt it a different way. Her way is beautiful, too. Just showing that there are many different ways that you can quilt a quilt and one way may not be the “right” way over another.

Be sure to post pictures of your quilts in the Quilted Joy Clubhouse Facebook group. We’d love to see what you’ve been working on. And then your quilt could be picked to be the next “How I would quilt it" quilt.
I’m Angela- Co-host of the Fons & Porter’s Love of Quilting PBS show. APQS Long arm Dealer and Educator. Triplet Momma. Designer. Thread Bimbo.

Leave a Reply