


Design wall going up in the new studio
I am in the process of completing the layout/design of my new home studio. We moved in August but I didn't move the sewing room until late September. One of the things I desperately needed in my new studio was a design wall. With a design wall you can place blocks up on the wall and step back to see if the color and placement is pleasing to your eye. I find it especially useful when making Tshirt quilts so I can be sure the overall design of the shirt is good. I also use the design wall to pin up tops from customers so I can stand and stare to get ideas on custom treatments that will work on their tops.
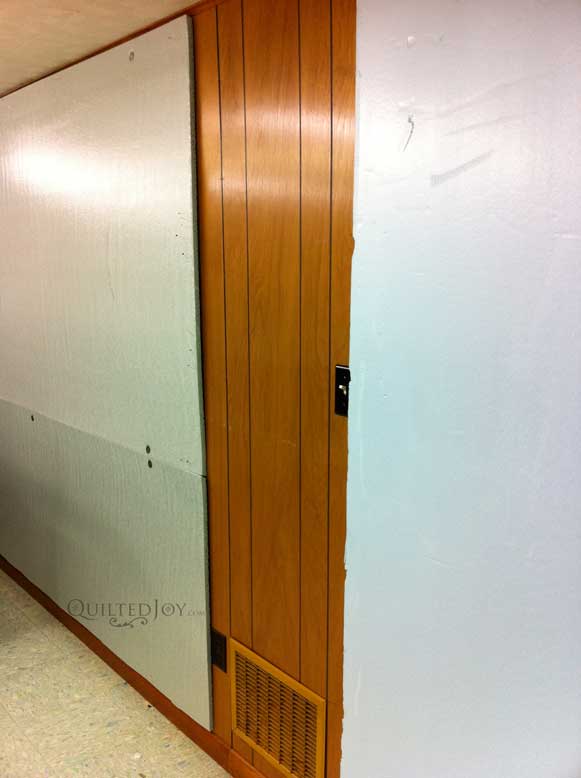
 This photo shows the beginning stages of installing a design wall. You can see the existing paneling between the foam boards. That is the wall I'm covering up.
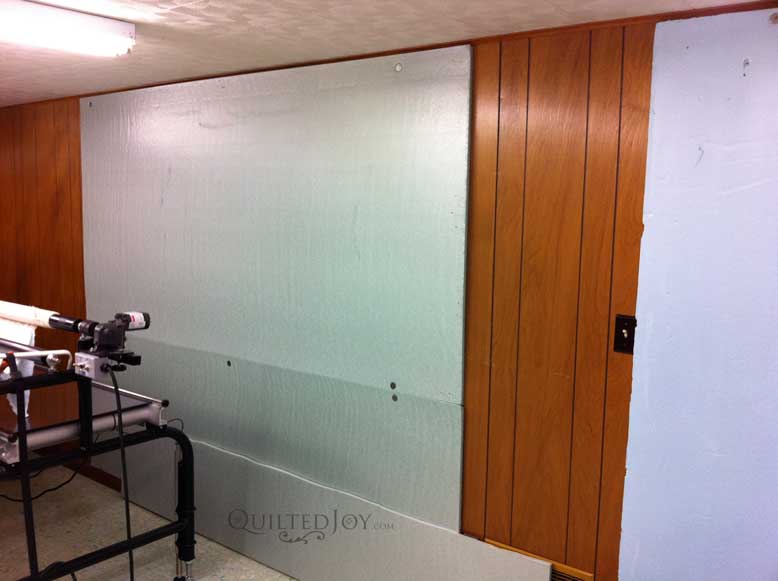
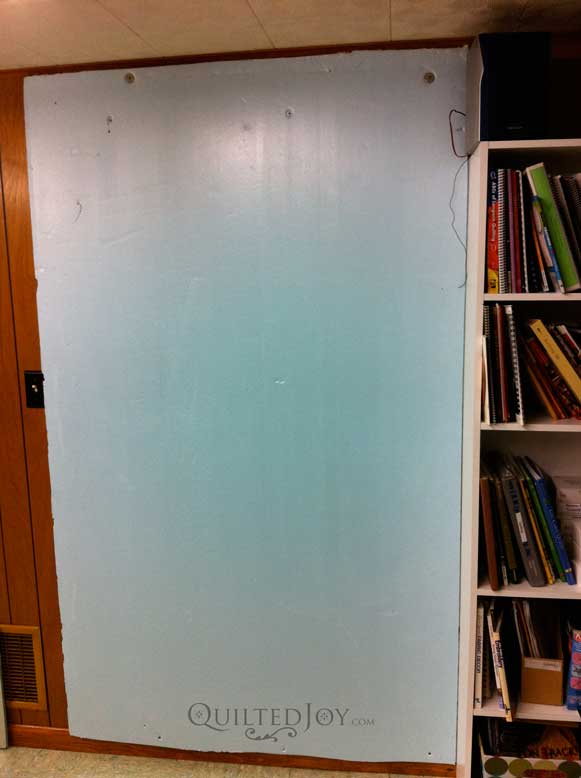 I went to Lowes and got some 3/4" foam insulation board that is normally used on the outside of a home. I needed just 2 panels and I think I paid about $15 total for the two.
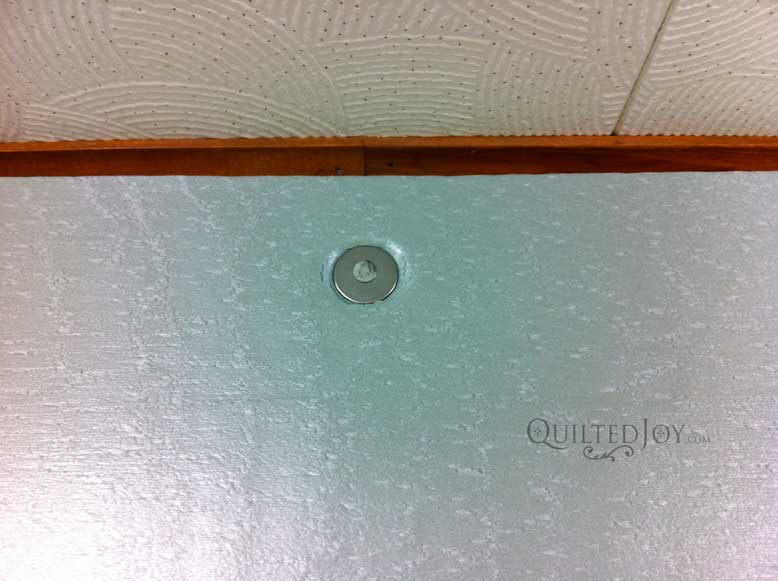
The final step will be to cover the whole thing in flannel. Then fabric will stick to it and I can still use pins if needed.

I’m Angela- Co-host of the Fons & Porter’s Love of Quilting PBS show. APQS Long arm Dealer and Educator. Triplet Momma. Designer. Thread Bimbo.


Leave a Reply