Rule Your Quilt with Crosshatching
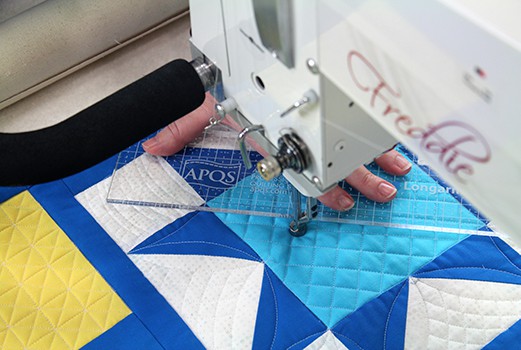
Few quilting designs seem as classic as crosshatching. Crosshatching is found in traditional, contemporary, and modern quilts. I love using crosshatching to fill large spaces or behind applique to allow the piecing to really shine. Of course, to quilt that simple grid I'm relying on my favorite rulers.

I have so much fun quilting with rulers. The designs you can create with a simple ruler can be beautiful, intricate, and inspiring. This year I’m writing a series of articles for Quiltmaker Magazine and APQS all about machine quilting with rulers.
Traditional Crosshatching
Traditional crosshatching is really just a grid stitched out on your quilt. To quilt this design without stopping, breaking your threads, and starting again, you'll need to understand the simplest path. Click here to see the downloadable student packet where I shared my crosshatching guide to help you see the path. It's also super helpful to have at least a small part of your grid marked ahead of time. You could use a stencil to mark the whole grid. I prefer using a ruler and chalk pencil to add evenly spaced tick marks around the outside of my space.

Once you understand the path, just grab your favorite straight line ruler to quilt the crosshatching. What are my favorite straight edge rulers? It's always changing, but I recently shared a few of my favorites in the October 2019 Quilted Joy Clubhouse online meeting.
Curved Crosshatching
My favorite way to incorporate crosshatching into my quilts is with curved crosshatching. This design uses a horizontal grid, but bends the lines into curves or arches. In the article, I shared a couple of different ways to quilt this. My favorite way to use curved crosshatching is to add a gutter of negative space between the curves and two of the seams. No matter how you quilt it, curved crosshatching looks super elegant and I love the way it elevates a quilt's design!

In the student bundle you can find at the very end of the article, I included diagrams for the paths of curved crosshatching. But if you'd like to watch me draw out the path, check out the video below. This is our October 2019 Quilted Joy Clubhouse meeting that I mentioned earlier. The video will start at the "How Would I Quilt it?" part of the meeting where I share a possible quilting design for a quilt shared in the Quilted Joy Clubhouse. I added curved crosshatching with a gutter to the negative spaces along the outside edge of Athina's quilt.
Modern Twists
These are just a few of the ways you can incorporate crosshatching into your quilts! In the full article I also shared some fun modern twists to the traditional crosshatching by doubling up lines and mixing my horizontal and vertical grids. Be sure to read my full Rule Your Quilt article here. And don't miss the downloadable student packet at the end of the article! We've got free guides you can print and practice with to help you practice the continuous paths for different kinds of crosshatching.

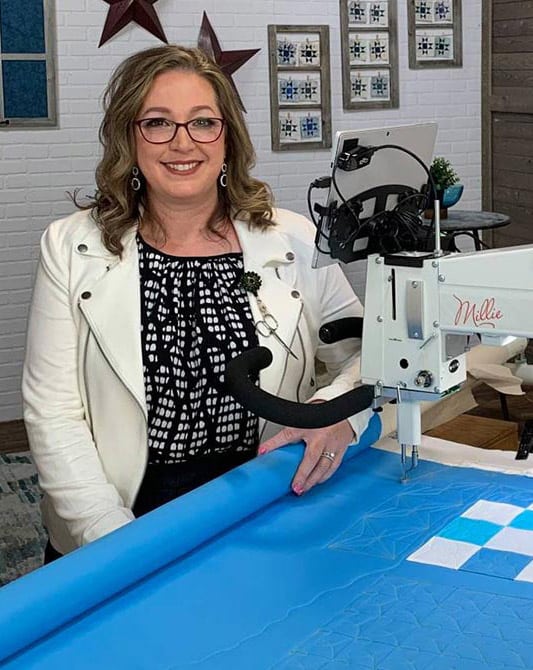
I’m Angela- Co-host of the Fons & Porter’s Love of Quilting PBS show. APQS Long arm Dealer and Educator. Triplet Momma. Designer. Thread Bimbo.




Leave a Reply