


Video: Feathering the Outside Curve | Quilted Joy Clubhouse Live!

Thank you all for watching our Quilted Joy Clubhouse this month. If you missed it, that is not a problem. You can find all of our previous episodes including this one on our YouTube channel and Quilted Joy Clubhouse Facebook group. If you like and follow us, you can even get notices about when we are going live so that you can chat and be a part of the community online. It’s nice to be able to connect with people safely while still maintaining social distancing requirements.
The main program for April 2020's Quilted Joy Clubhouse meeting was about how to quilt feathers on an outside curve. Watch the video below to learn more and see my advice!
Before we dive into the main topic, I thought it was important to acknowledge that we are living in very crazy times. To do our part, only one employee works in the store at any time. That one person is fulfilling our online orders and answering the phones. We really appreciate all the internet orders we’ve gotten over the past weeks. You made it possible for us all to keep busy. We are still trying to get all the orders out within 24 hours of receiving them (except the weekends), and we’ve been able to do that for the most part.
Feathering the Outside Curve
Last month we talked about different types of spines for feathers. So this month we're going to continue on that same thread and discuss feathering around the outside of a curved spine. Feathers can be made straight, but that doesn’t actually happen very often. We like the feathers that curl and turn down a border or fill a corner. But to get the feather to turn a corner and still be balanced can be tricky.
First draw a curved spine. Then find the center of the curved area to determine the width that the inner feathers are going to be. This will allow you to make the outside petals the same width and keep the feather balanced. If traditional feathers are a challenge for you, try a curled feather instead. This one has a bit more forgiveness in the backtracking. Be sure to curl in real tight to the center before coming back out.
Think skinny thoughts and make sure you aren’t making your feathers too thick. When you have a lot of space to fill you can stack them. This is where you make a little feather then add larger ones that wrap around it before starting again with a little petal.
Angela’s Favorite Things
This month I wanted to highlight not just one of my favorite things, but one of my favorite people, because it was her birthday. Melanie, our lead quilt fairy, does a great job of helping our renters succeed. Thank you Melanie for all that you do for Quilted Joy and our customers!
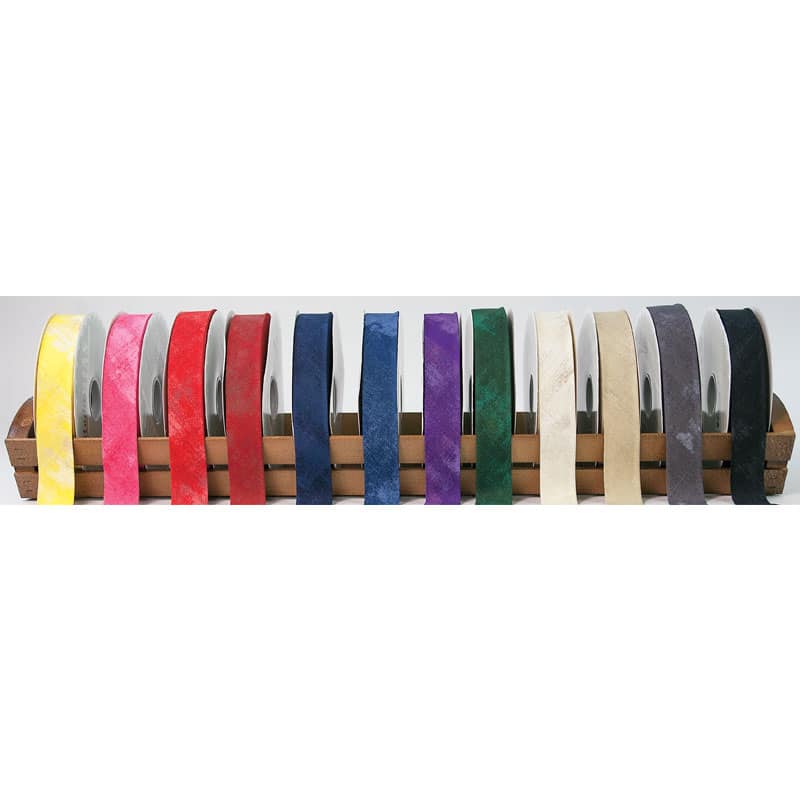

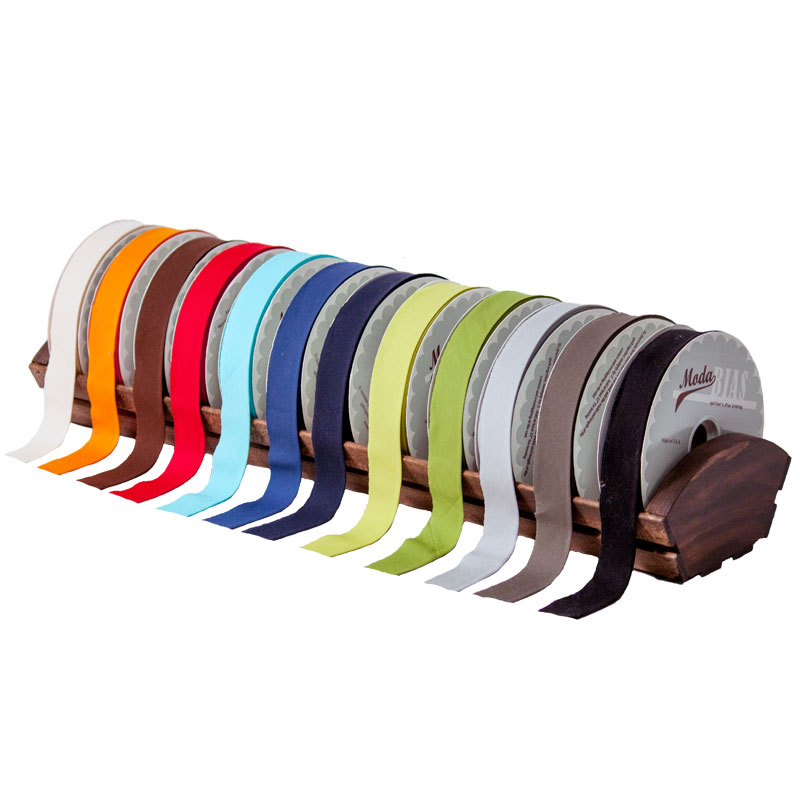
Another favorite thing is this pre-made bias binding from Moda. It’s not what pre-made binding used to be. It is 100% cotton and color coordinated to match some of their most popular lines of fabric. It works great as a finishing touch to your quilts. We also added a great calculator on our website to help you figure out how much binding you need for your projects. Just enter the finished measurements of your quilt and it will do the rest!
Diane’s Quilting Attic Nest
Diane Palmerton, of Threaded Treasures Long Arm Quilting, allowed us to see where she quilts in her attic. She had a great set up! She had an elevated table using PVC pipe to make cutting easier. I like the use of an over the door shoe organizer to display her threads. The clear plastic pockets could organize a lot of different things for sure.
I especially liked how she organized her fabric scraps. After finishing a quilt, she cuts up the odd small scraps into squares of varying sizes and puts them into labeled tubs. The larger pieces are then wrapped around boards and placed on a bookshelf. Neat and easy to find what you are looking for in an instant. Thanks so much, Diane, for letting us see your space. It is lovely!
How I would Quilt it
You might have heard I was on a quilting cruise last month. I taught two piecing classes and a sit down ruler quilting class. Polly was one of my students and made the larger of the two available sizes of the Caribbean Dreams Quilt. You might recognize this as Moon Hopper, the same quilt that was on the Fons & Porter’s Love of Quilting show and in their magazine. We have the digital pattern for sale on our website. These instructions require two specialized rulers to complete the quilt. Deb Tucker’s Studio 180 V Block and Square Squared rulers. I think you will find these ruler very useful for making other quilts as well as they help to make blocks in several sizes.
Polly offered us her top for this month’s How I would Quilt It. I like to walk through how I come up with the designs as a way to help you to start walking through your own designs.

The Block
Firstly, don’t worry about your path and just focus on what you like and want to see on the quilt. I started with the main block and decided to highlight the piecing. I added radiating petals to create a flower shape, echoing inside the petal to add more quilting. Then I would stitch in the ditch and repeat the petal shape in the corners, taking the opportunity to place a curl in the center. Because the sashing creates the same basic block, I just repeated the same design there as well.
At this point, I wanted to think a little about my path as I look at the “Magic Portals” that will allow me to move from one block to another. By starting at the top point of a petal, I can add a shell shape before stitching in the ditch around to the next V block. This also will outline this star shape we see between the rows. Finally, I want to add a little diamond shape, by connecting the centers, of this square in the middle. This is the point I would figure out my path from one side of the quilt to the other, with the portals I used throughout the design.
The Borders
The outside border would look great with a design that I call Ocean Breeze. I’ve made a video tutorial for the ocean breeze design and you can watch that here. And the inner border could just be a wavy line all the way around. We hope that Polly will post a picture of her quilt when she is finished. I look forward to seeing what suggestions she decided to use, and what she came up with on her own.
The next meeting of the Quilted Joy Clubhouse will be live on the first Wednesday of May, May 6, 2020 at 1PM Eastern/ Noon central. If you missed this last month, or can’t make next month’s, don’t worry. You’ll find all the past episodes on our Youtube channel and on our Quilted Joy Clubhouse Facebook group. Don’t forget to subscribe to our channel to be notified about our videos.
We’ll see y’all in May!

I’m Angela- Co-host of the Fons & Porter’s Love of Quilting PBS show. APQS Long arm Dealer and Educator. Triplet Momma. Designer. Thread Bimbo.

Leave a Reply