In the past two posts, here and here, I’ve encouraged you to try to think of the quilting motifs you’d select for Kathy’s custom quilt. I’ve also shown you some of the mock up drawings I did in the computer to try to visualize my designs.
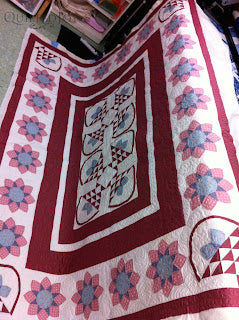
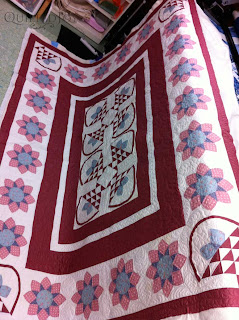
Well, the quilt is all finished and I wanted to share the photos with you!
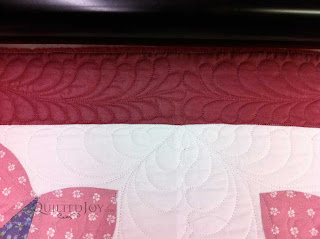
In far outside border I put in feathers that originate in the corners and meet up in the centers.
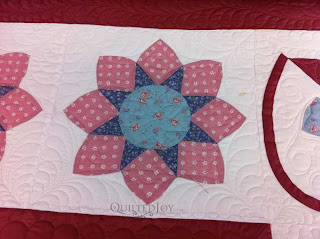
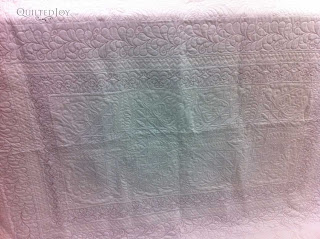
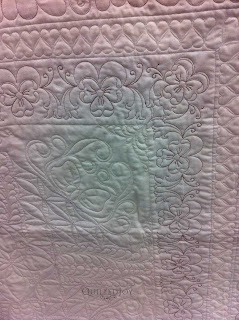
In the white space between the plates I added over the top feathers to frame each plate. You can see that better in this shot from the back.
In the skinny white border I added a double heart design which I picked up in the inner maroon border with a ribbon flower in which the ribbons mimic the hearts.
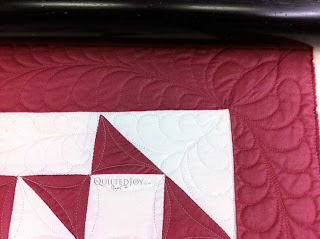
The large maroon border got fancy over the top feathers that turn the corner and run around the entire center section.
The center section was my jumping off point for designing the path of the feathers in the baskets in the outer cornerstones too. the ribbons off the bows in the center of the basket relate back to the ribbon flower in the inner maroon border.
Click on any of the photos to see them bigger!
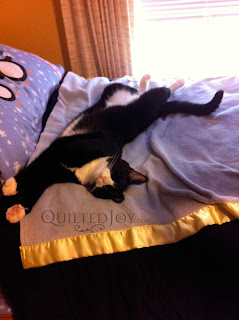
That was a lot of work! I think Oskar has the best idea, don’t you?
Quilted Joy Blog Stop by QuiltedJoy.com for design inspiration, quilting options and pricing on new or used APQS quilting machines.








2 Responses