


Video: How to Quilt the Half Blossom Border
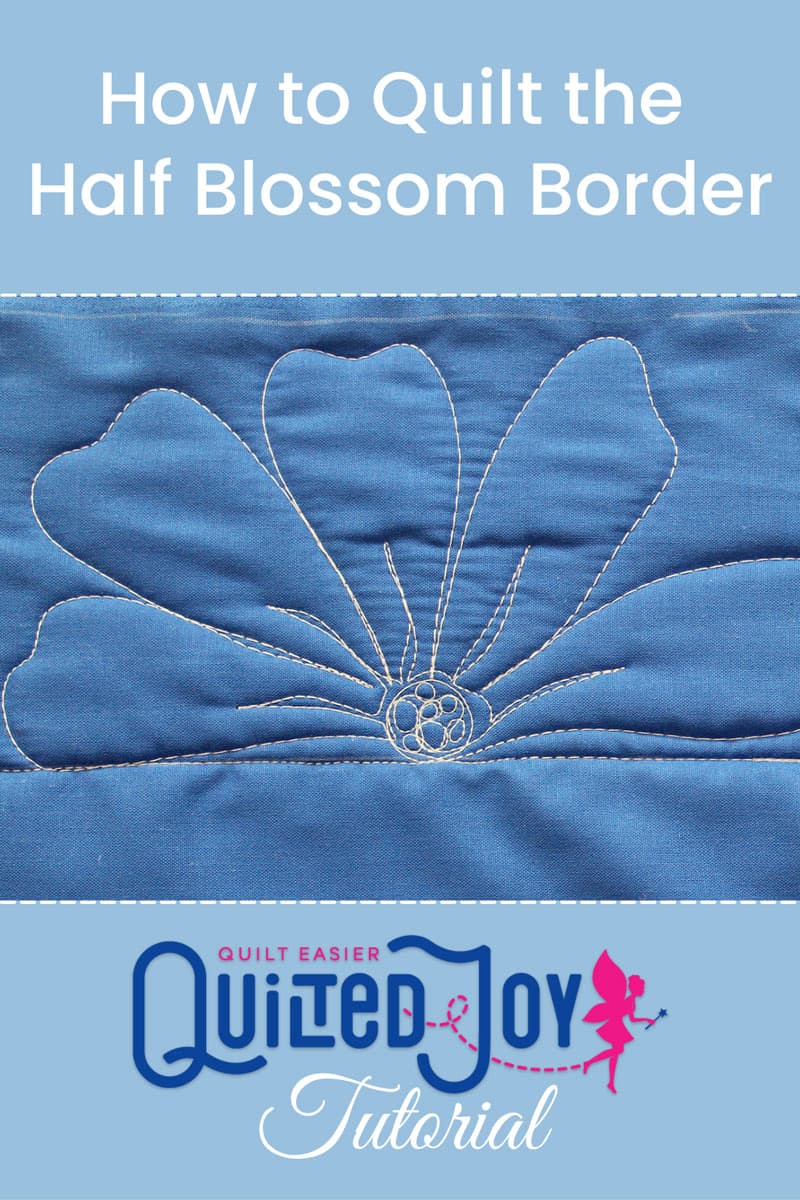
In this APQS video tutorial you’ll learn how to quilt the Half Blossom border design. This is a big floral design that’ll fill your extra large borders well. Watch the video below to see how to quilt it!
How to Quilt the Half Blossom Border
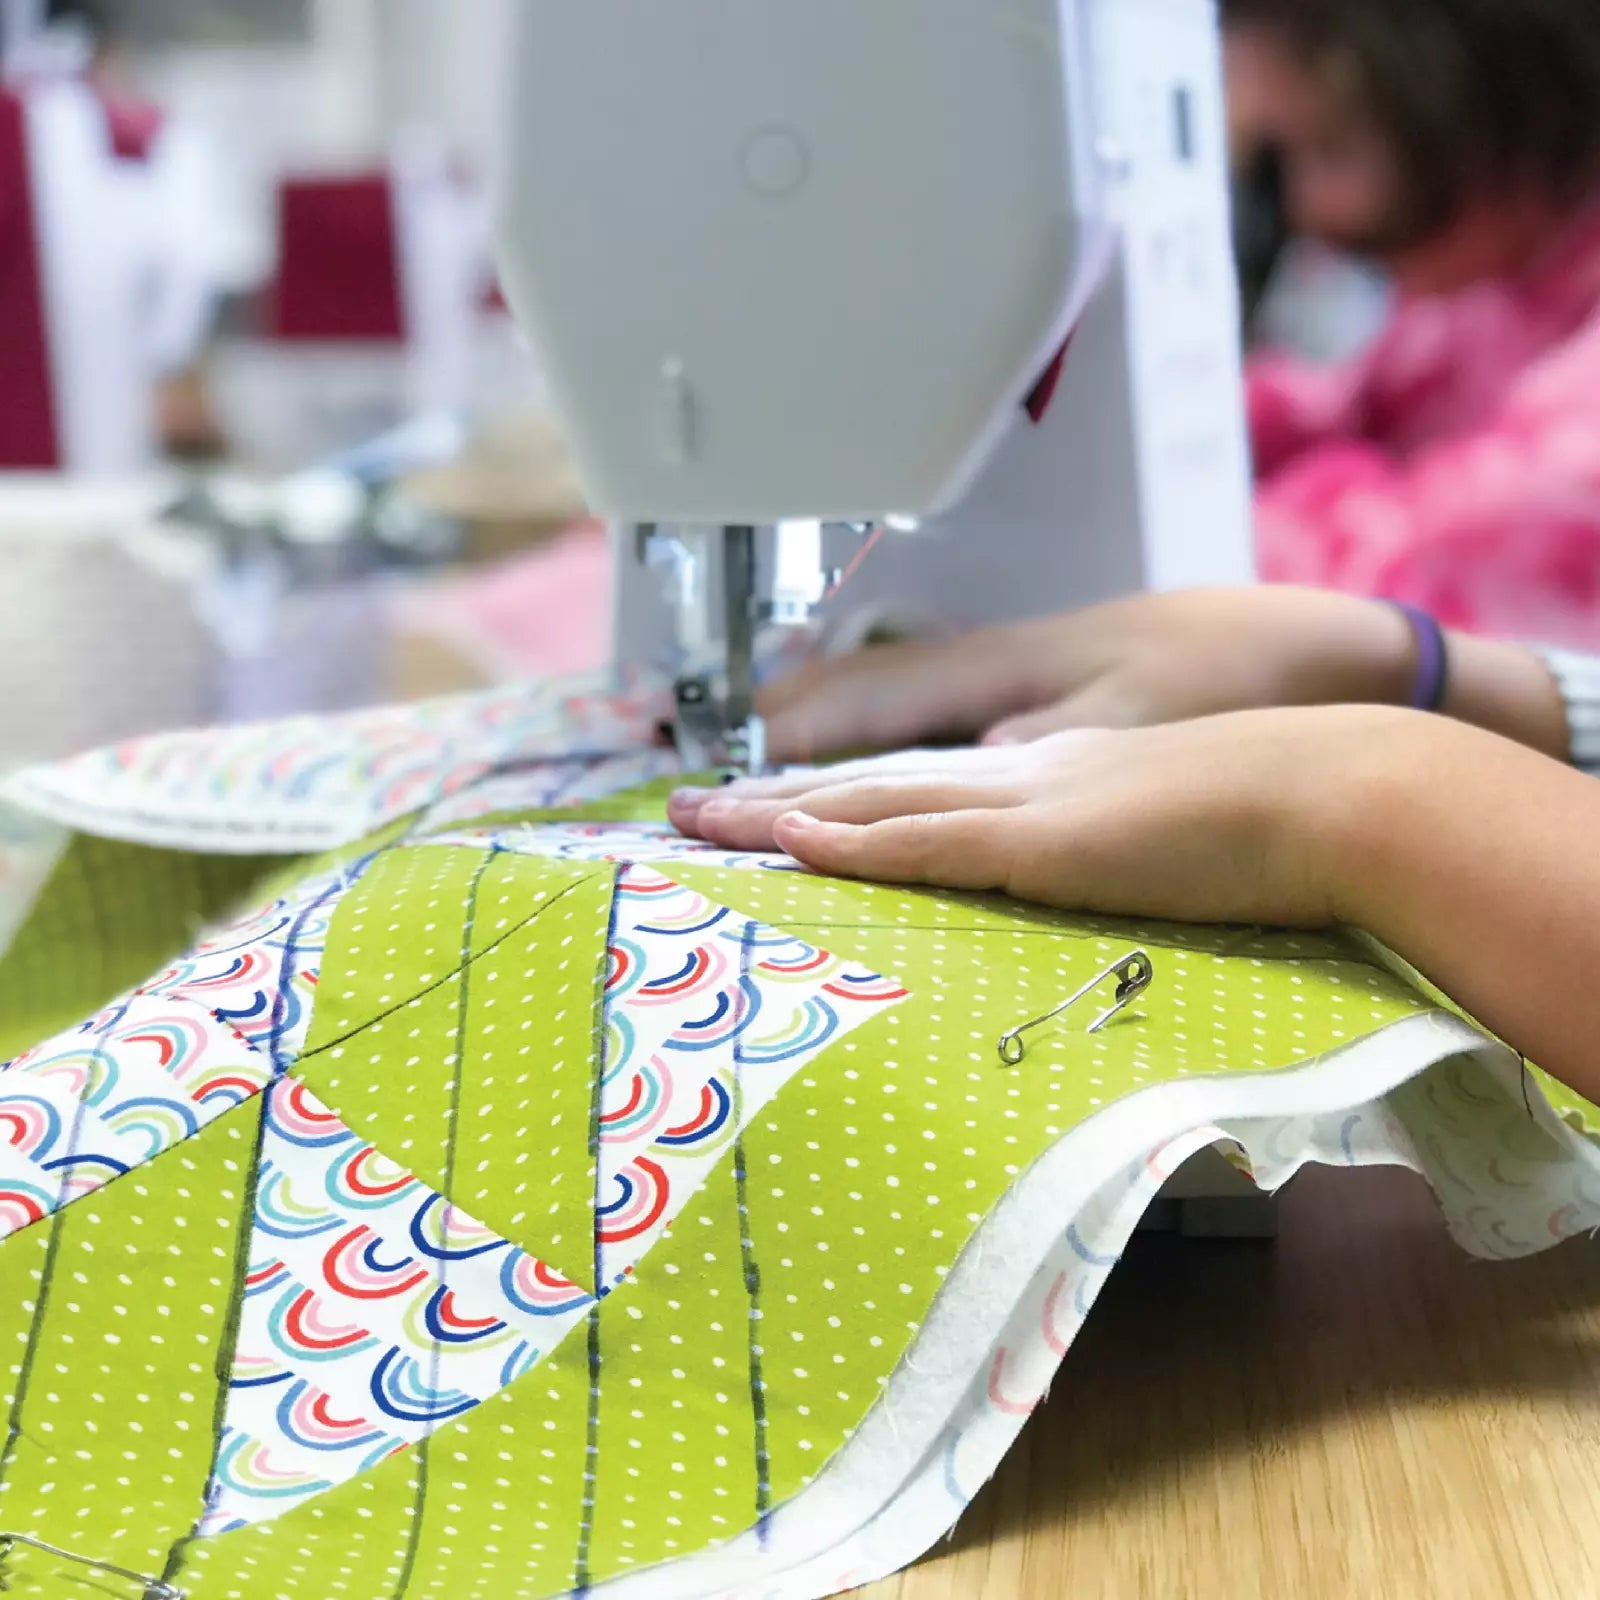
Before I started quilting I marked registration lines for my flowers with my favorite chalk pencil to keep them all even. I also added a tick mark in the center of each of these spaces. I started at the bottom of my border, quilting along the seam. When I arrive at my center tick mark I quilt a loop. After the loop I’ll begin quilting my large flower petals. These petals have little dips in the tops of them, like a lettuce leaf or molar feather plume. I quilt petals around the loop until I’m back at the bottom of the border. Travel along your seam until you arrive at your next tick mark.
I decided to add pebbles into the center loop of my flower, but you could add whatever you’d like! Microstippling or refrigerator coils would work just as well. You also might want to add a little more details to your flower petals. I liked the look of the s-curve veins I added during the video, but curls would be lovely too.
Now It’s Your Turn!
Now that you know how to quilt the half blossom border, it’s your turn to give it a try! I would love to see your version of this design. You can share pictures of your quilts with me at the Quilted Joy Facebook page, tag me on Instagram, or join the community in the Quilted Joy Clubhouse!
If you would like to explore more tips and tricks for machine quilting, don’t miss the Quilted Joy Learning Center!
I’m Angela- Co-host of the Fons & Porter’s Love of Quilting PBS show. APQS Long arm Dealer and Educator. Triplet Momma. Designer. Thread Bimbo.

Leave a Reply