Rule Your Quilt: Quilting Arch Borders

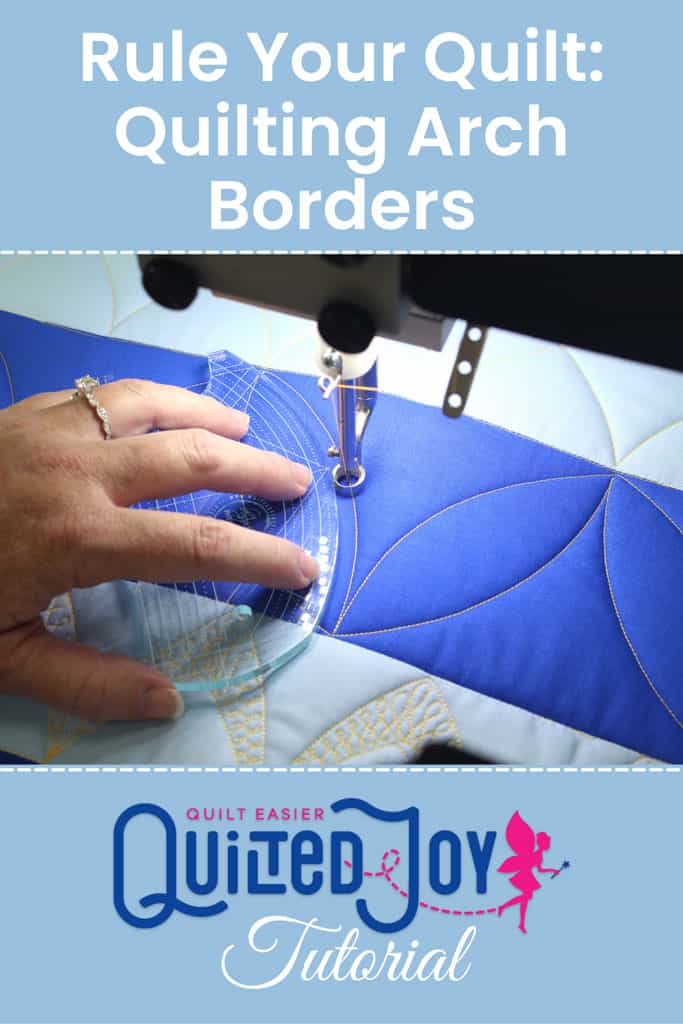
There are so many beautiful ways to quilt a border. One of my favorite ways to fill in a quilt’s border is to grab an arc ruler and create beautiful arch designs. I love how versatile the simple arch design can be thanks to easy changes to the arch’s height, width, and repeat. Let’s grab an arc ruler and quilt some arches!

I have so much fun quilting with rulers. The designs you can create with a simple ruler can be beautiful, intricate, and inspiring. This year I’m writing a series of articles for Quiltmaker Magazine and APQS all about machine quilting with rulers. My latest article was published in the January/February 2020 issue of Quiltmaker and you can read it here.
Gather Your Supplies
To quilt arch borders you’ll need your favorite marking device and a ruler with a gentle arc. My favorite fabric marker is the Marvy Marker. This is an air erasable marker that will fade on it’s own in 2-14 days - or faster if you live in a humid climate like me - or you can remove the marks right away with water.
There are lots of arc rulers available. The best ruler will really depend on your preferences and the size arches you want to quilt. It’s important to find a ruler with the right feel. You need the goldilocks fit - not too big or too small for your hand. And just like any machine quilting ruler, make sure it’s tall enough that it won’t slip under the needle while you’re quilting. If your ruler has reference lines, make sure they’re etched onto the ruler and not printed. You’ll know the lines are etched if you run your fingernail over the lines and your nail catches on the lines.
To quilt the quilt in this article I used the Lavender Lines 1 ruler. I love it’s aquamarine glow that makes it easy to see on any quilt top! Other arc rulers I love are the Quilted Pineapple Original 6 rulers and the Boomerang rulers.


Arch Border Designs
In the article I shared different ways to quilt arch borders. The simplest border is to quilt each arch side by side. Use your marker to divide your border evenly so that your arches line up correctly. Be sure to read the full article here to find my tips for using arc rulers to quilt these simple designs. You’ll also find helpful diagrams illustrating my quilting paths!

If the simple arch is too plain for you, try the overlapping arch border! You can also play with spacing and quilt more compact arches. In the article I made an echoed arch border with the compact arches. I love this particular design because it reminds me of Star Trek! 🤓
Arches are also fabulous containers for beautiful free motion filler designs. Let your imagination run wild in these spaces! I love to add wishbones, stacked curls, feathers, and so much more. I think it’s especially helpful to fill the aches if you’ve got great big borders. An 8” or 10” border might look a little empty with the simple arch border, but with some echoing and fillers it will look amazing!

Don’t Miss the Student Packet!
Don’t forget the student packet of downloads included in this article! There you’ll find worksheets with the quilting path for more complex arch designs like the pumpkin seed border and inspiration for adding feathers to your aches.

I hope you’ve enjoyed these Rule Your Quilt articles! It’s been so much fun finding new and interesting ways to incorporate rulers in my quilting designs. If you’ve found these articles helpful, I’d love to connect with you and see what you’re working on! Join me on Facebook and Instagram. Or join the community in the Quilted Joy Clubhouse. And discover more quilting inspiration in the Quilted Joy Learning Center.

I’m Angela- Co-host of the Fons & Porter’s Love of Quilting PBS show. APQS Long arm Dealer and Educator. Triplet Momma. Designer. Thread Bimbo.


Leave a Reply