Video Tutorial: How to Quilt the Olive Filler + Variations
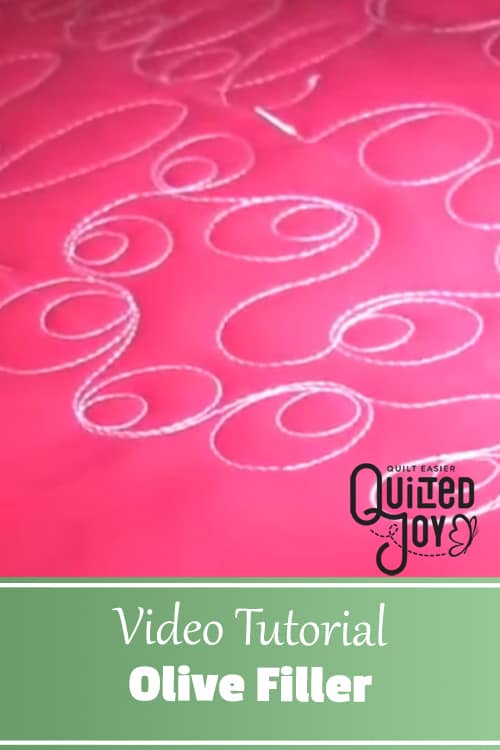
I've got a video tutorial for you today for one of my favorite all over designs. The Olive Filler is super simple and very easy to quilt. Plus I've got a few variations to go with it.
Watch the video below to see how to quilt the Olive Filler and keep watching for some fun variations!
How to Quilt the Olive Filler
Another common name for the olive filler is the double bubble design because of it's bubble within a bubble look. To quilt this design, start with a simple loop. When you're back to your starting point add a second smaller loop inside the first one. And that's it! I promised you it'd be an easy one!
You can scale this design and make it really big or shrink it down to fit behind some whimsical applique. Just remember to vary the design a little by entering your loops from different sides of the meander line. In other words, you don't want all your olives to start on the East side of the meander. Have them entering from all different directions!
Mix it Up!
It's really easy to vary this design and make it uniquely yours! I love to add curls like you saw in the video. You can also add hooks and loops like I did in my Hooked Olive video. You could even quilt more than one loop inside the main bubble. Add any design element you can dream up and make the design your own!
Now it's Your Turn
Now that you know how to quilt the olive filler, it’s your turn to give it a try! I would love to see your version of this design. You can share pictures of your quilts with me at the Quilted Joy Facebook Page, tag me on Instagram, or join the community in the Quilted Joy Clubhouse!
If you would like to explore more tips and tricks for longarm quilting don’t miss the Quilted Joy Learning Center!

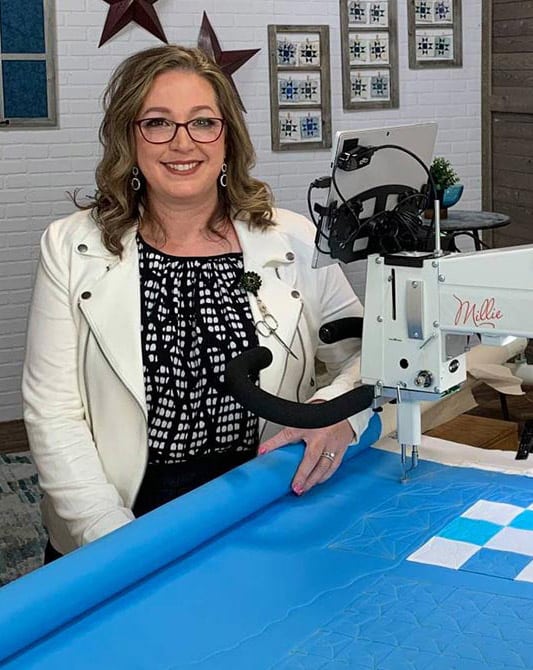
I’m Angela- Co-host of the Fons & Porter’s Love of Quilting PBS show. APQS Long arm Dealer and Educator. Triplet Momma. Designer. Thread Bimbo.




Leave a Reply