


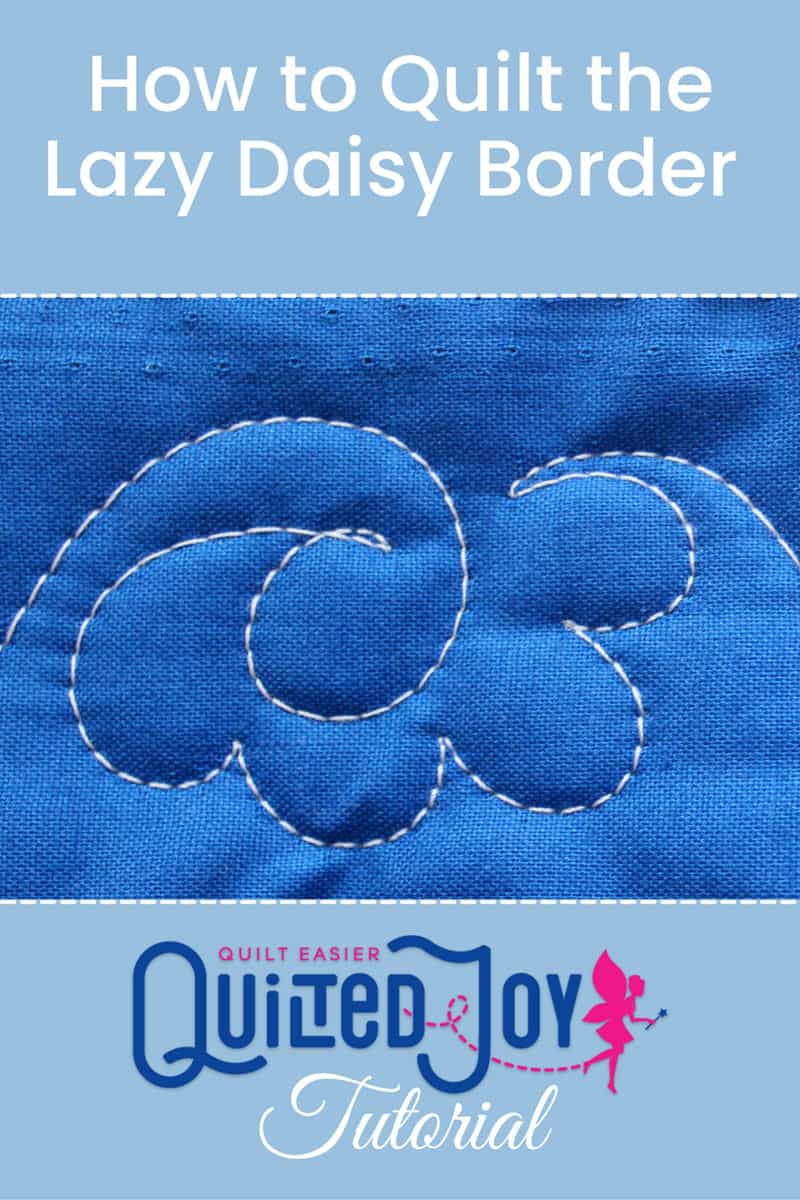
Video Tutorial: How to Quilt the Lazy Daisy Border
Who doesn't love a sweet daisy design? They're super easy to quilt and they look so cute! In my latest video tutorial for APQS I'm showing you how to quilt the Lazy Daisy border design. Take a look at the video below.
Sweet, easy, and cute! The Lazy Daisy is a great free motion design for a beginner because it only has a few elements. Start with a curl, and be sure to give that curl a nice puffy head. As you come out of the curl, start quilting petals around it. The number of petals is up to you. I usually quilted four petals, but as you'll see in the video I have a few daisies with only three petals. It's harder than you think to quilt and talk, and I got a little distracted! :)
After quilting your daisy, begin another curl but this time travel in the opposite direction of your previous curl. So if your previous curl was facing East, make the next curl face West. And that's all there is to the Lazy Daisy border design! Like I promised, it's super simple.
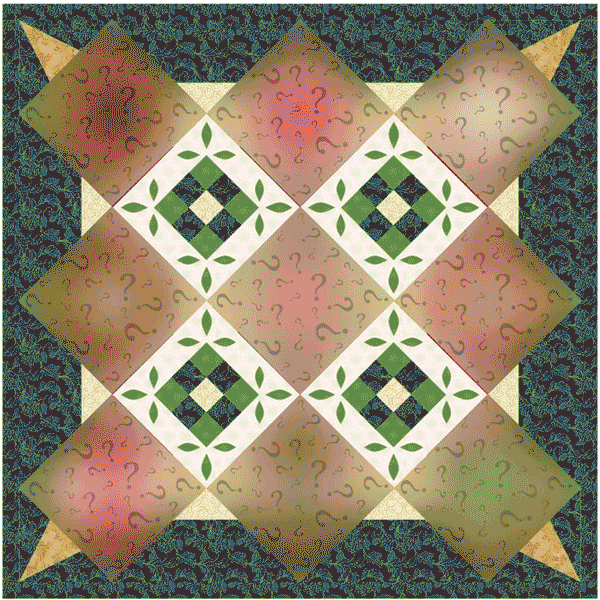
Part of the fun of this design is how versatile it is. To show you how to quilt the lazy daisy border, I quilted the daisies in a 2" border. The design would work just as well in a much larger border or even in a small sashing. Can't you picture this design framing a quilt in the outer border of a baby quilt? It's also really easy to turn this into an edge to edge or filler design. Take a look at the Daisy Brambles video tutorial to get an idea of how you could turn this into a filler design.
Now that you know how to quilt the lazy daisy border, give it a try! I'd love to see how you quilted it and what quilts you put it on. You can share your pictures with me on the Quilted Joy Facebook page, tag me on Instagram, or show off in the Quilted Joy Clubhouse on Facebook!
I’m Angela- Co-host of the Fons & Porter’s Love of Quilting PBS show. APQS Long arm Dealer and Educator. Triplet Momma. Designer. Thread Bimbo.

Leave a Reply