Video Tutorial: How to Quilt the Fried Egg Filler
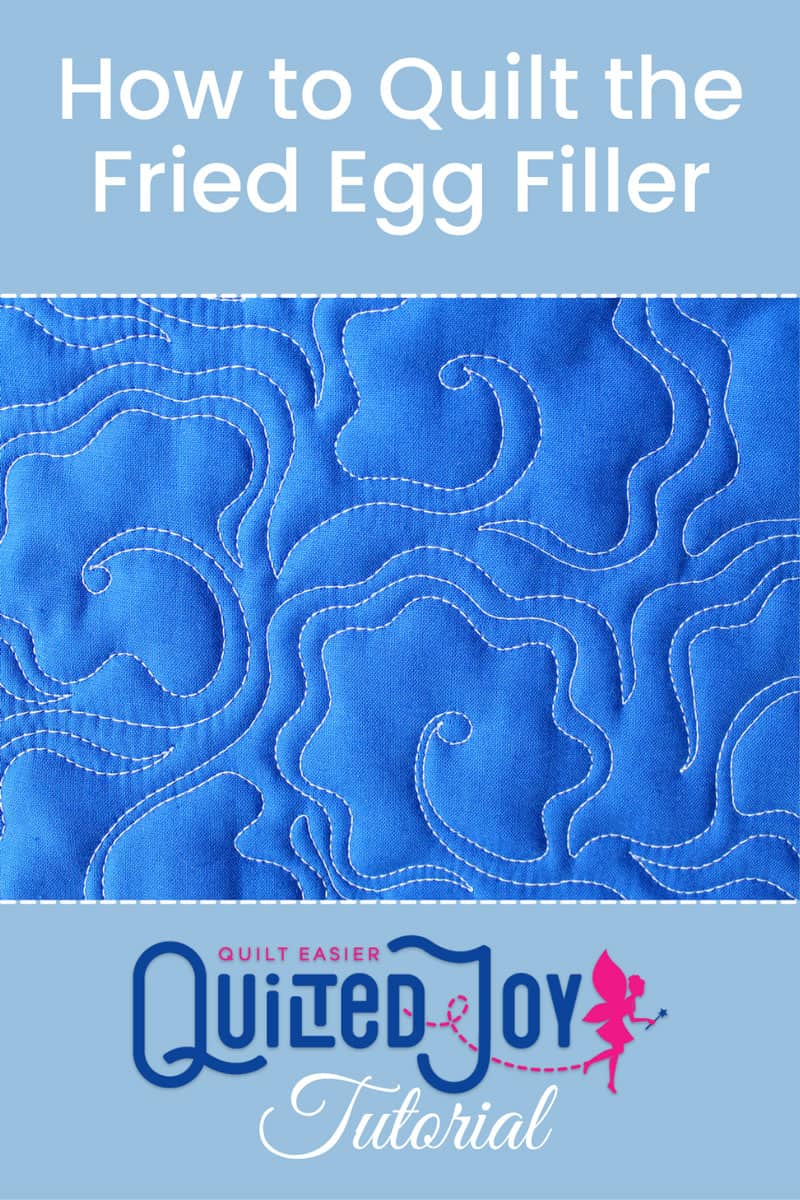
My latest longarm quilting video tutorial for APQS is online. I think you're really going to love the Fried Egg Filler!
The Fried Egg Filler was inspired by folk art fried egg applique. Watch the video below to see how to quilt it.
How to Quilt the Fried Egg Filler
Really simple right? We start with a nice long stem with a small circle. Head back down that stem and begin a wavy ring echo around it. I echoed around my rings one more time then I was off to my next fried egg.
If you get to a spot where you need to travel but don't want to echo around your rings again you can always cross over your stem. I know the quilt police don't like you to cross your quilting lines, but that's not my style. It's your quilt, do what you want and what fits your style!
Flower or Fried Egg?
I'm calling the design the fried egg filler, but it also has lots of floral vibes. You may have noticed the steps for this design are almost the same as the daisy filler. If you're struggling to get nice pointy points on your daisy petals you might like the fried eggs as an alternative floral filler.
Now it’s Your Turn!
Now that you know how to quilt the fried egg filler, it’s your turn to give it a try! I would love to see your version of this design. You can share pictures of your quilts with me at the Quilted Joy Facebook Page, tag me on Instagram, or join the community in the Quilted Joy Clubhouse!
If you would like to explore more tips and tricks for longarm quilting don’t miss the Quilted Joy Learning Center!

I’m Angela- Co-host of the Fons & Porter’s Love of Quilting PBS show. APQS Long arm Dealer and Educator. Triplet Momma. Designer. Thread Bimbo.




Leave a Reply