


Video Tutorial: Honeysuckle Filler
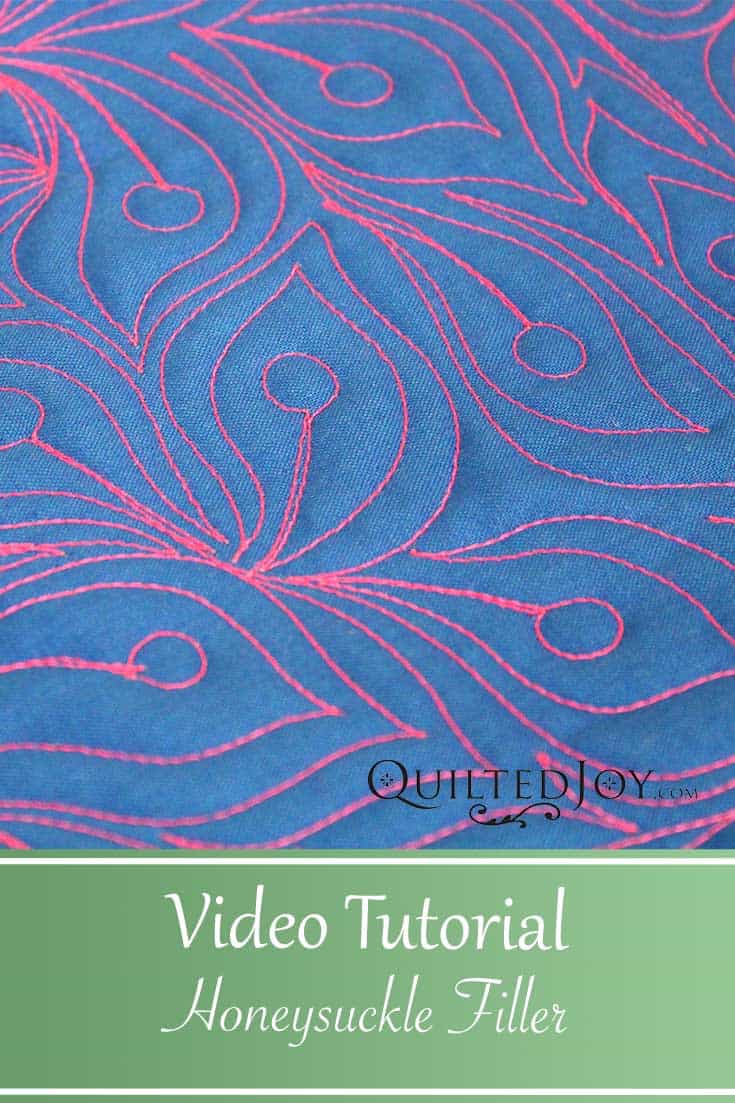
Today I've got a fun leafy quilting design that had me thinking of honeysuckles. This filler design is super simple to quilt. It has straight lines, circles, and S curves, that's it! It looks great behind applique, but I think it would look really nice if you made it bigger for an all over edge to edge design too. Take a look in the video below!
How to Quilt the Honeysuckle Filler
You're going to appreciate just how easy it is to quilt the honeysuckle filler! The honeysuckle filler uses three basic shapes - a stem, circle, and leaf shape. Start with a stem pointing in any direction. At the end of your stem add a circle and backtrack over your stem to where you began. Echo around your stem and circle with a pointed leaf shape. Echo that leaf shape as many times as you'd like! Branch off from your first honeysuckle and quilt another stem.
Quilt the Honeysuckle Filler on Your Quilt!
As you can tell, this filler is pretty dense. It's a great way to fill up a space, but still add a fun design element that's more exciting than stippling. Because of its density, it would look fabulous behind applique! The heavier quilting behind the applique would help the applique pop even more. My best advice for the honeysuckle filler would be to remember to vary your direction. Try to make sure your stem is pointing North, South, East, West, and every direction in between!
Now It’s Your Turn!
Now that you know how to quilt the honeysuckle filler, it’s your turn to give it a try! I would love to see your version of this design. You can share pictures of your quilts with me at the Quilted Joy Facebook page, tag me on Instagram, or join the community in the Quilted Joy Clubhouse!
If you would like to explore more tips and tricks for longarm quilting, don’t miss the Quilted Joy Learning Center!


I’m Angela- Co-host of the Fons & Porter’s Love of Quilting PBS show. APQS Long arm Dealer and Educator. Triplet Momma. Designer. Thread Bimbo.


Leave a Reply