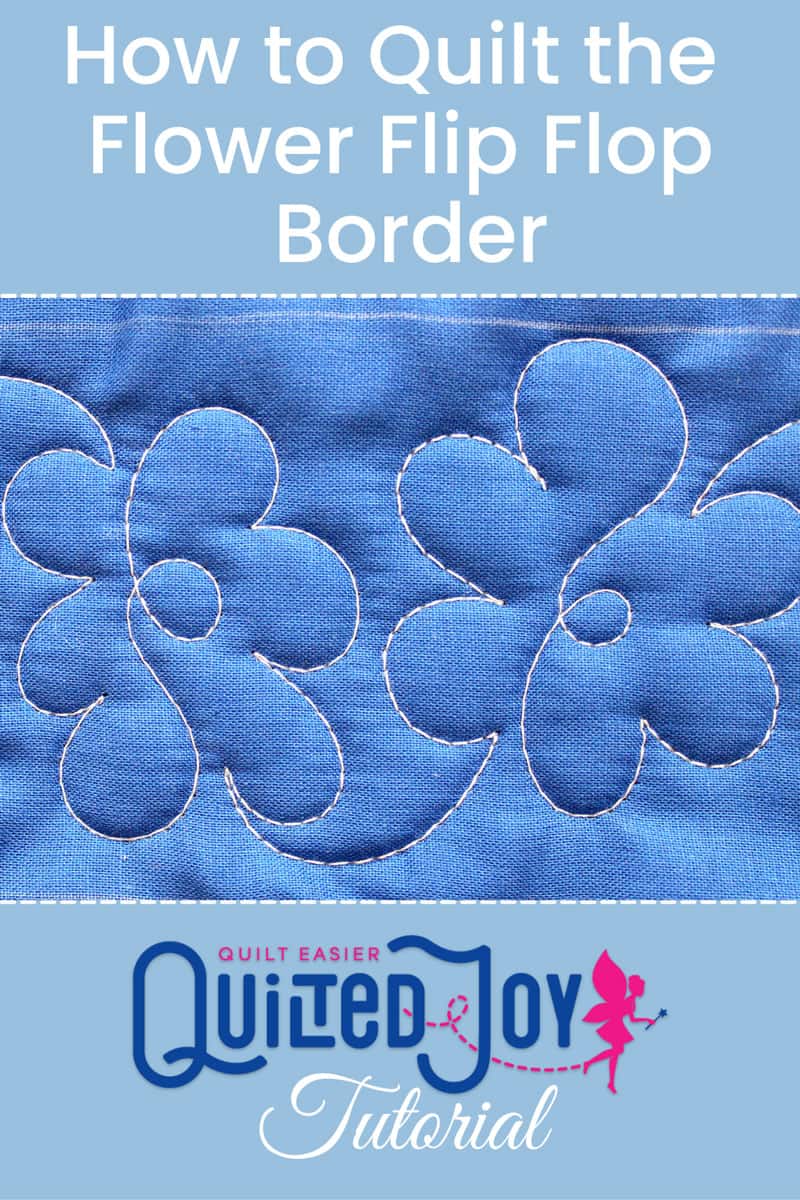
Video: How to Quilt the Flower Flip Flop Border

If you love whimsical flower designs, you’re going to love this video! The flower flip flop border design is really easy and will be loved by both new longarmers and more experienced quilters.
The Flower Flop Flop design is perfect for your next quilt border. Watch the video below to see how to quilt this sweet border design!
How to Quilt the Flower Flip Flop Border
Isn’t that such a sweet little flower design? To quilt the Flower Flip Flop design, start at the bottom of your border. Quilt up a little bit to create your stem. Now quilt three daisy petals, traveling towards the top of your border. Next quilt a loop for the center of your flower. You should be back where you began your first flower petal. Now you can quilt three more daisy petals, traveling back towards the top of your border. You’re back at the top of your border and now you can swing over to quilt another flower!
Talk Yourself Through the Design
I’ve said it many times before, but I’ll say it again 😉. I like to talk myself through my designs. It keeps me focused and it helps me remember the next step! For the Flower Flip Flop border I’m thinking to myself “1, 2, 3, and a loop. 1, 2, 3, next daisy.” You don’t have to say the same thing as me, anything will work as long as you can remember the steps.
Now it’s Your Turn!
Now that you know how to quilt the Flower Flip Flop border, it’s your turn to give it a try! I would love to see your version of this design. You can share pictures of your quilts with me at the Quilted Joy Facebook page, tag me on Instagram, or join the community in the Quilted Joy Clubhouse!
If you would like to explore more tips and tricks for longarm quilting don’t miss the Quilted Joy Learning Center!


I’m Angela- Co-host of the Fons & Porter’s Love of Quilting PBS show. APQS Long arm Dealer and Educator. Triplet Momma. Designer. Thread Bimbo.


Leave a Reply