


How to Quilt on a Sewing Machine
You Don’t Need a Fancy Machine to Quilt Beautifully
Many new quilters believe you need a massive, specialized long-arm quilting machine to stitch together a quilt. The truth is you can quilt beautifully on the same sewing machine you already own.
With just a few accessories, like a walking foot or a free-motion foot, you can turn your everyday sewing machine into a versatile quilting tool. You do not need to invest thousands of dollars or dedicate an entire room to quilting. What you need is patience, practice, and a willingness to learn.
Imagine finishing your very first quilt, proudly draping it over your couch, or wrapping it around your child or grandchild, and knowing you created it from start to finish. Quilting with your home machine makes that dream possible.
In this guide, we will go step by step through the entire quilting process and show you exactly how you can quilt on a sewing machine. You will learn how to prepare your quilt sandwich, how to set up your sewing machine, how to choose a quilting style, how to handle your quilt as you stitch, and how to finish your quilt neatly. Whether you are making your first quilt or polishing your skills, this guide will help you feel confident.

What You'll Need
Before you begin, gather the right tools and supplies. Having everything within reach will make the process easier and more enjoyable.
-
Sewing machine for quilting
Any basic model with a straight stitch and adjustable tension will do. Many beginners quilt successfully on entry-level machines. If you have the option, consider the size of the throat or opening of your machine. A larger throat makes it easier to maneuver bulky quilts, but smaller machines can absolutely handle the job with proper folding and rolling. -
Walking foot
This foot is essential for straight-line quilting. It grips the top layer of fabric and moves it at the same pace as the bottom layers, preventing shifting and puckering. -
Free-motion quilting foot (also called a darning foot) (optional)
This foot opens the door to more creative quilting. It allows you to move the quilt in all directions to stitch loops, swirls, and textures. -
Quilting needle
Use size 80/12 or 90/14 for cotton fabrics. Always begin each project with a fresh needle. A dull or bent needle can cause skipped stitches or snagged fabric. -
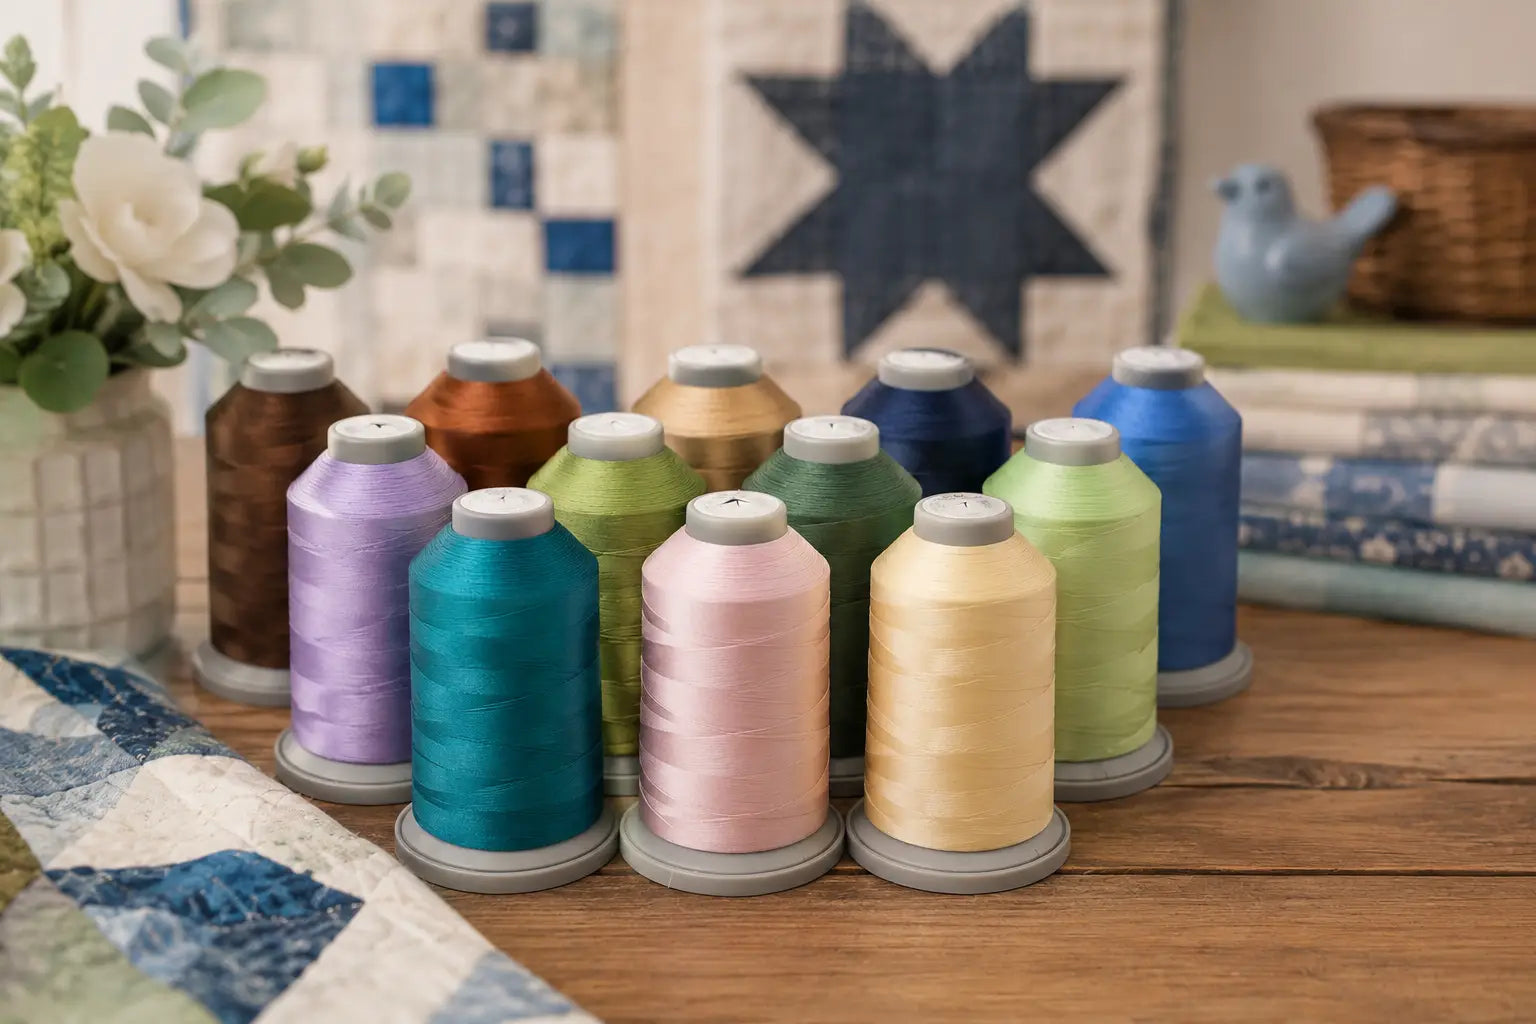
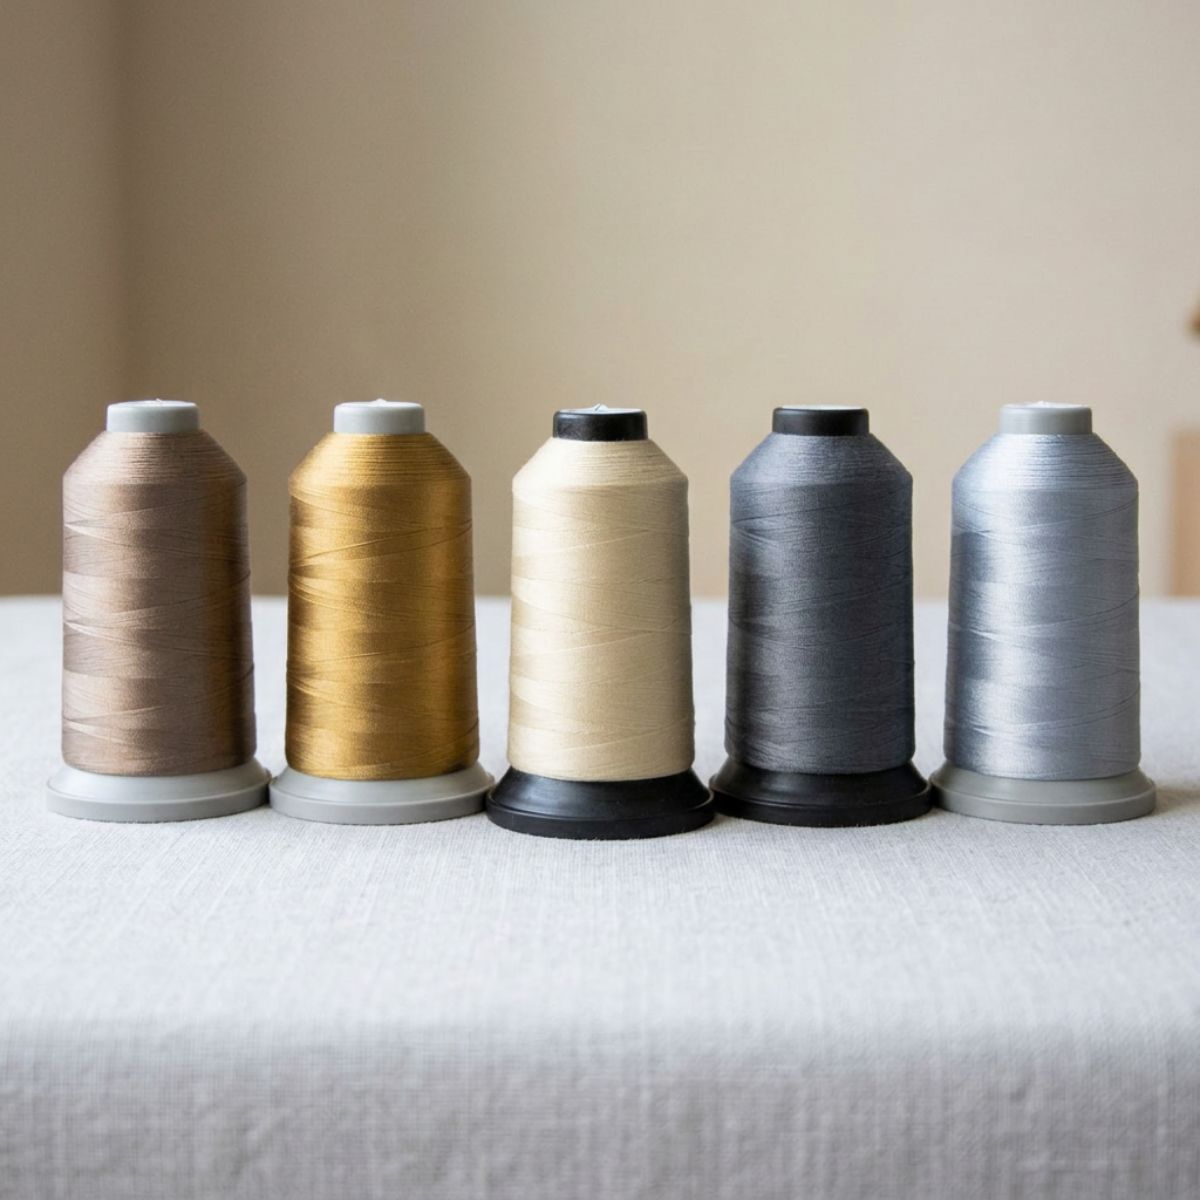
Thread
Polyester or cotton thread works well. Choose a color that blends into your fabrics if you want your stitching to be subtle, or pick a contrasting color for decorative effect. -
Quilt sandwich
Your quilt top, batting, and backing layered and basted together. We will cover this preparation in the next section. -
Quilting gloves (optional)
Gloves with a light grip help reduce hand fatigue and make it easier to move your quilt smoothly under the needle.
Having the right setup sets you up for success. Even with a simple sewing machine, these tools will make quilting manageable.

Step 1: Prepare Your Quilt Sandwich
A great finish starts with solid preparation. If your quilt layers are not secure, you will fight wrinkles, tucks, and shifting throughout the quilting process.
-
Smooth your layers: Lay your backing fabric right side down on a large surface. Tape or clip the edges to keep it taut. Place the batting on top, smoothing gently. Then add your quilt top, right side up.
-
Baste thoroughly: Secure the layers with curved safety pins every four to six inches. Alternatively, use a light basting spray or large temporary stitches. The goal is to keep the three layers stable while you quilt.
-
Work from the center outward: Smooth any bubbles or wrinkles toward the edges. Start pinning or spraying in the middle and work your way out.
Why basting matters: If your layers shift, your stitches will create ripples and distortions. Proper basting gives you a flat, stable surface to quilt on.

Step 2: Set Up Your Machine
Now, let us configure your regular sewing machine for quilting. These adjustments will make a big difference.
-
Stitch length: Increase your stitch length to around 3.0 millimeters. This length is long enough to show off your quilting without perforating the fabric. Some computerized machines include quilting stitches labeled with a “Q” that mimic hand quilting.
-
Install quilting foot:
-
Use a walking foot for straight lines or gentle curves.
-
Use a free-motion foot for creative designs.
-
Feed dogs:
-
Keep them raised when using a walking foot for straight-line quilting.
-
Lower or cover them when free-motion quilting so you can move the quilt in any direction.
-
Thread tension: Always test tension on a practice quilt sandwich before starting. Stitches should look even on the top and bottom.
Pro tip: Keep extra bobbins wound. Quilting consumes much more thread than piecing. Some machines even allow you to wind a bobbin while you sew, which saves time.

Step 3: Choose Your Quilting Style
Quilting is the process of stitching through all three layers of the quilt. Beginners usually start with one of two methods.
Straight-Line Quilting
This is the simplest and most beginner-friendly option.
-
Mark quilting lines with chalk, painter’s tape, or a hera marker. Painter’s tape is especially useful for guiding straight lines.
-
Stitch in the ditch by sewing directly along the seams. This creates subtle quilting that blends into the design.
-
Echo quilting by sewing lines a quarter inch away from seams. This frames your patchwork beautifully.
-
Crosshatch quilting by stitching horizontal and vertical lines to create a grid.
-
Triangles or diamonds by marking lines at 45 or 60 degrees with a quilting ruler. This creates a vibrant geometric look.
Straight-line quilting gives structure and a clean, modern look.
Free-Motion Quilting
This style offers creativity and flexibility.
-
Setup: Attach the free-motion foot and lower the feed dogs.
-
Technique: Move the quilt manually in any direction while the needle stitches up and down. If your machine has stitch regulation it will help keep stitches even. If it does not, you control stitch length by balancing your hand movement with needle speed.
-
Beginner-friendly motifs: Start with loops, gentle waves, spirals, or stippling. As you gain confidence, you can move into feathers, flowers, or custom patterns.
Free-motion quilting takes practice, but it gives you endless creative possibilities.

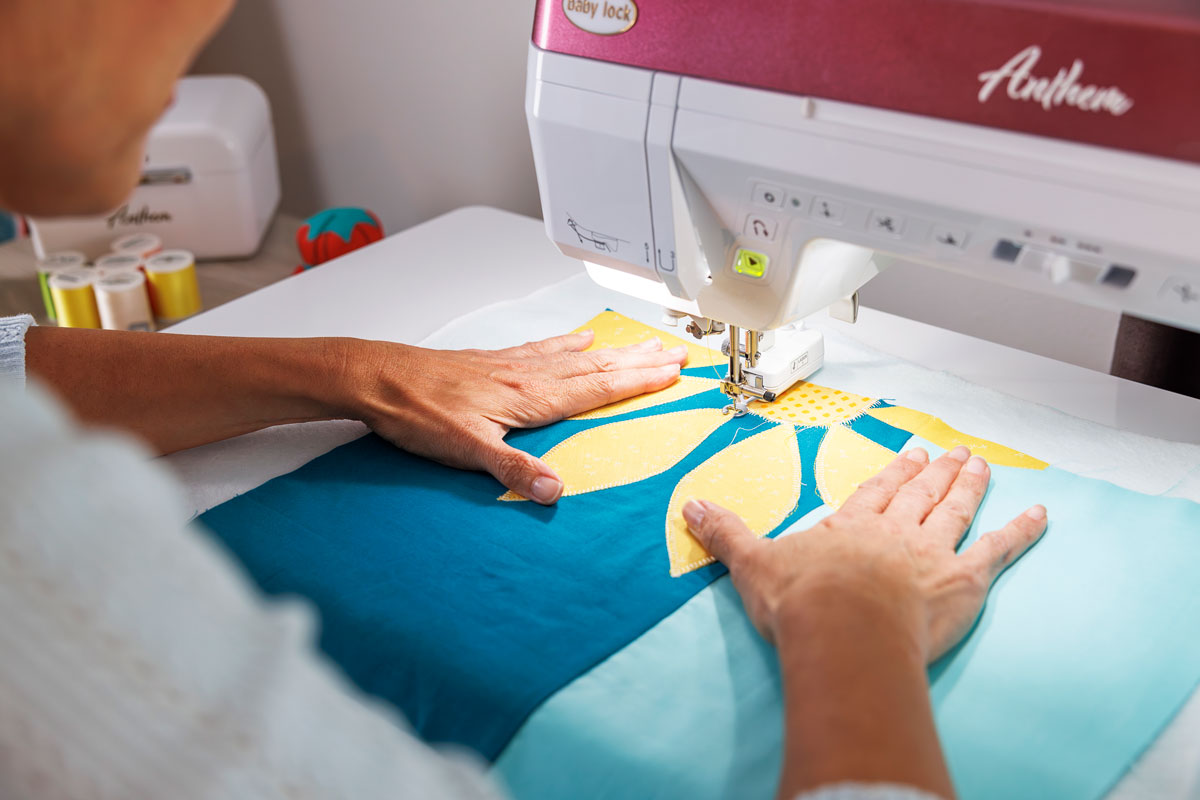
Step 4: Start Quilting
You are ready to begin. Here is how to handle your quilt confidently.
-
Position your quilt: Roll or fold the quilt to fit through the throat of your machine. Keep most of the bulk to the left side.
-
Start stitching near the center to minimize shifting.
-
Secure your stitches by backstitching or taking several tiny stitches.
-
Guide the quilt:
-
With straight-line quilting, let the walking foot feed the quilt evenly and focus on steering gently.
-
With free motion, move the quilt smoothly with your hands.
-
Hand placement: Place your hands like a hoop around the needle with light pressure.
-
Manage the bulk: Stop often, leave the needle down in the fabric, and reposition the quilt. Do not wrestle it into place.

Troubleshooting Common Problems
Even with preparation, issues can occur. Here are solutions to common challenges.
-
Thread nests: Prevent nests by pulling the bobbin thread to the top before you start stitching. If nests appear, rethread both the top and bobbin and check your tension.
-
Skipped stitches: Replace the needle with a fresh quilting needle.
-
Uneven stitches in free motion: Adjust your rhythm. Try to keep hand speed and machine speed balanced. Choose a thread that blends for extra forgiveness while you practice.
-
Shifting layers: Add more basting or reduce sewing speed.
Step 5: Finishing Up
Once your quilting design is complete, it is time to finish.
-
Trim the quilt: Use a rotary cutter and ruler to square up the edges.
-
Check for loose threads: Knot and bury them between the layers or trim neatly.
-
Attach binding: Use double-fold binding strips to finish the edges. Machine stitch them to the front and hand stitch or machine stitch to the back.
-
Wash and dry: The first wash softens the quilt and gives it a snuggly, crinkled look. Always wash before gifting so the recipient’s first encounter is a snuggly one.

Pro Tips for Better Machine Quilting
-
Practice first: Use small sandwiches of fabric and batting to test thread color, tension, and designs.
-
Work from the center outward: This prevents puckering and helps distribute fabric evenly.
-
Start with small projects: Table runners, placemats, or baby quilts build skill without overwhelming you.
-
Take breaks: Machine quilting uses both your hands and your shoulders. Stretch often.
-
Use strong lighting: A bright lamp makes it easier to see stitches and stay accurate.

Your First Quilted Project Awaits
Machine quilting does not require fancy equipment. All you need is your regular sewing machine, a few helpful accessories, and the willingness to practice.
Celebrate every project, even the imperfect ones, because each quilt is proof of your progress. Once you finish your first quilt, you will be hooked.
Start small, practice often, and quilting on a sewing machine will soon feel natural. Grab your quilt sandwich, set up your machine, and begin stitching joy into fabric.

I’m Angela- Co-host of the Fons & Porter’s Love of Quilting PBS show. APQS Long arm Dealer and Educator. Triplet Momma. Designer. Thread Bimbo.


Leave a Reply