


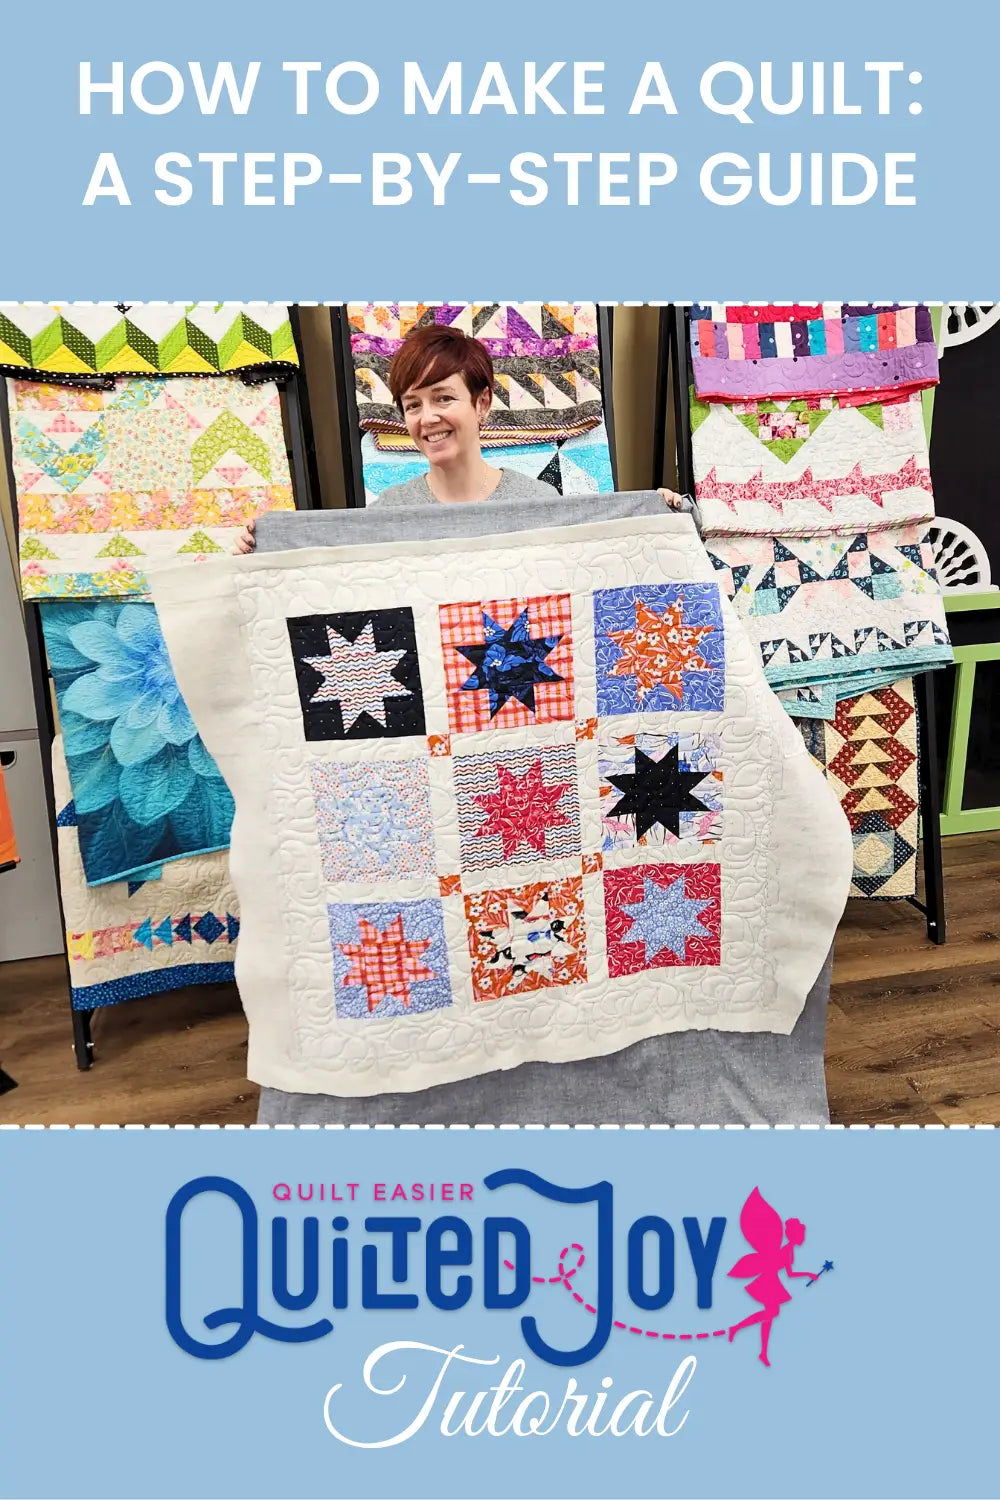
How to Make A Quilt: A Step-by-Step Guide
Feeling inspired to make a quilt but then become overwhelmed with all the choices and specialized lingo? Quilting looks complicated. So many tools, fabrics, techniques. You might be wondering if you’ll need expensive gear and gadgetry. I promise you quilting is more accessible than you think.
Promise me one thing first, though. Remember that quilting isn’t about perfection. It’s about joy. The joy of learning, creativity and growth! You don’t need decades of experience to create a beautiful quilt. This guide walks you, step by step, from your first cut to that satisfying “ta‑da” moment, on how to make a quilt for beginners or for the seasoned pro!

What You’ll Need to Get Started
Before you launch into your quilt journey, gather the following essential tools and materials:
Basic Tools
-
Rotary cutter (with a fresh blade)—for clean, straight cuts.
-
Quilting ruler—clear, marked measuring tool for precision. For maximum stability and precision put some vinyl dots or sheets on the back to prevent sliding while cutting.
-
Cutting mat—protects surfaces and preserves the ruler.
-
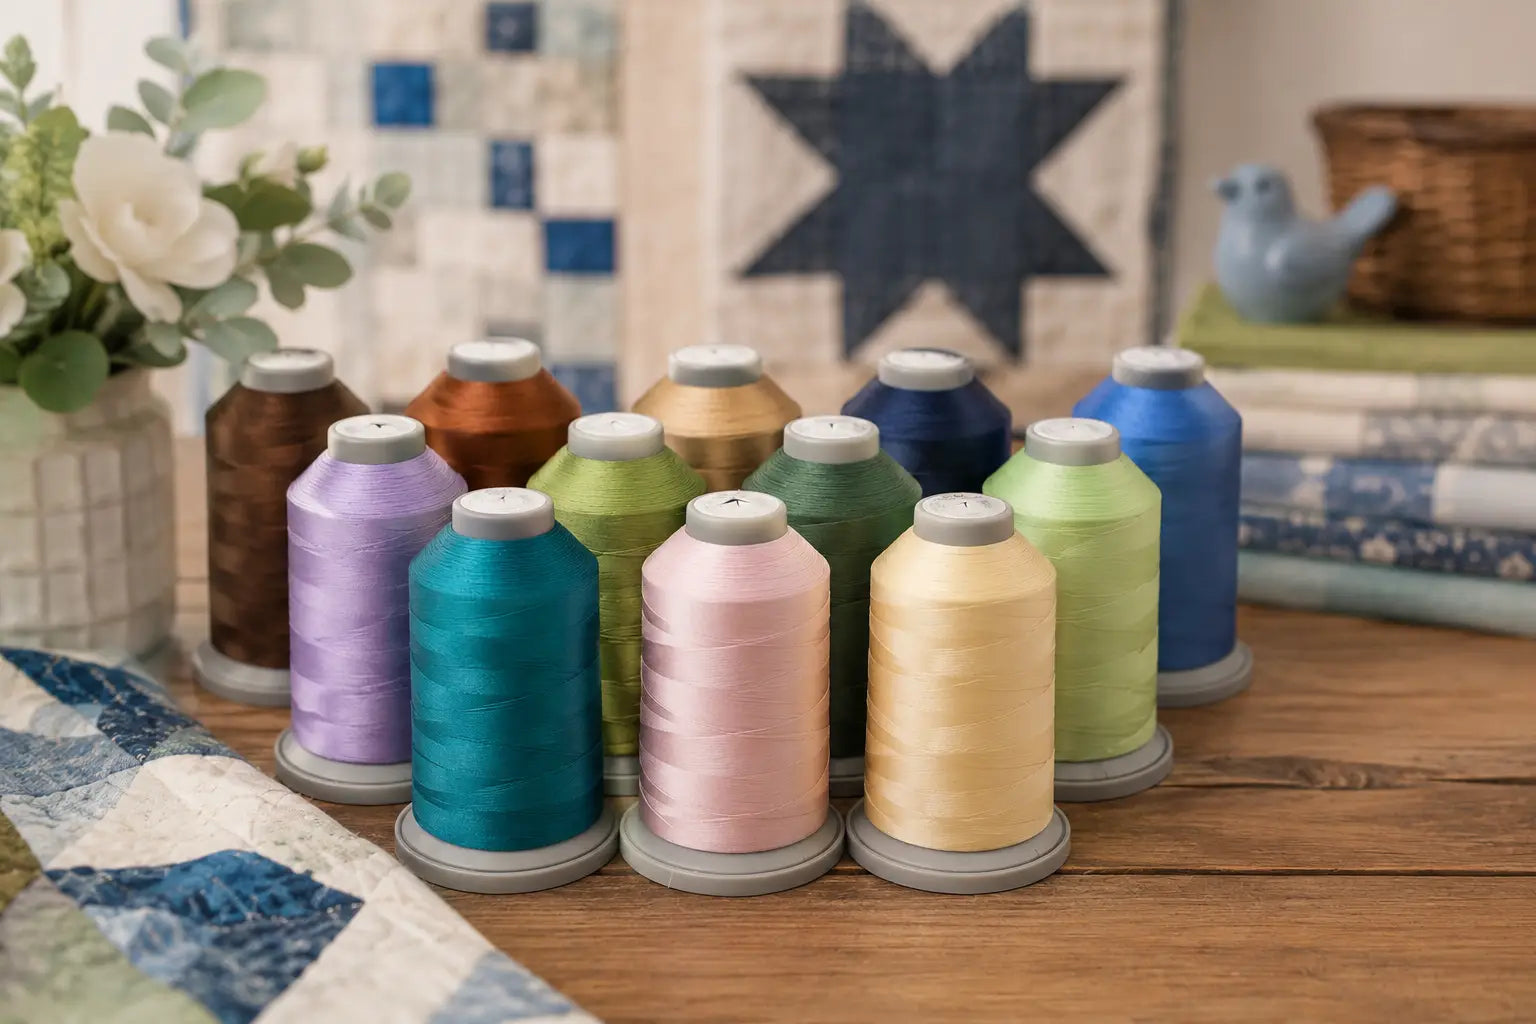
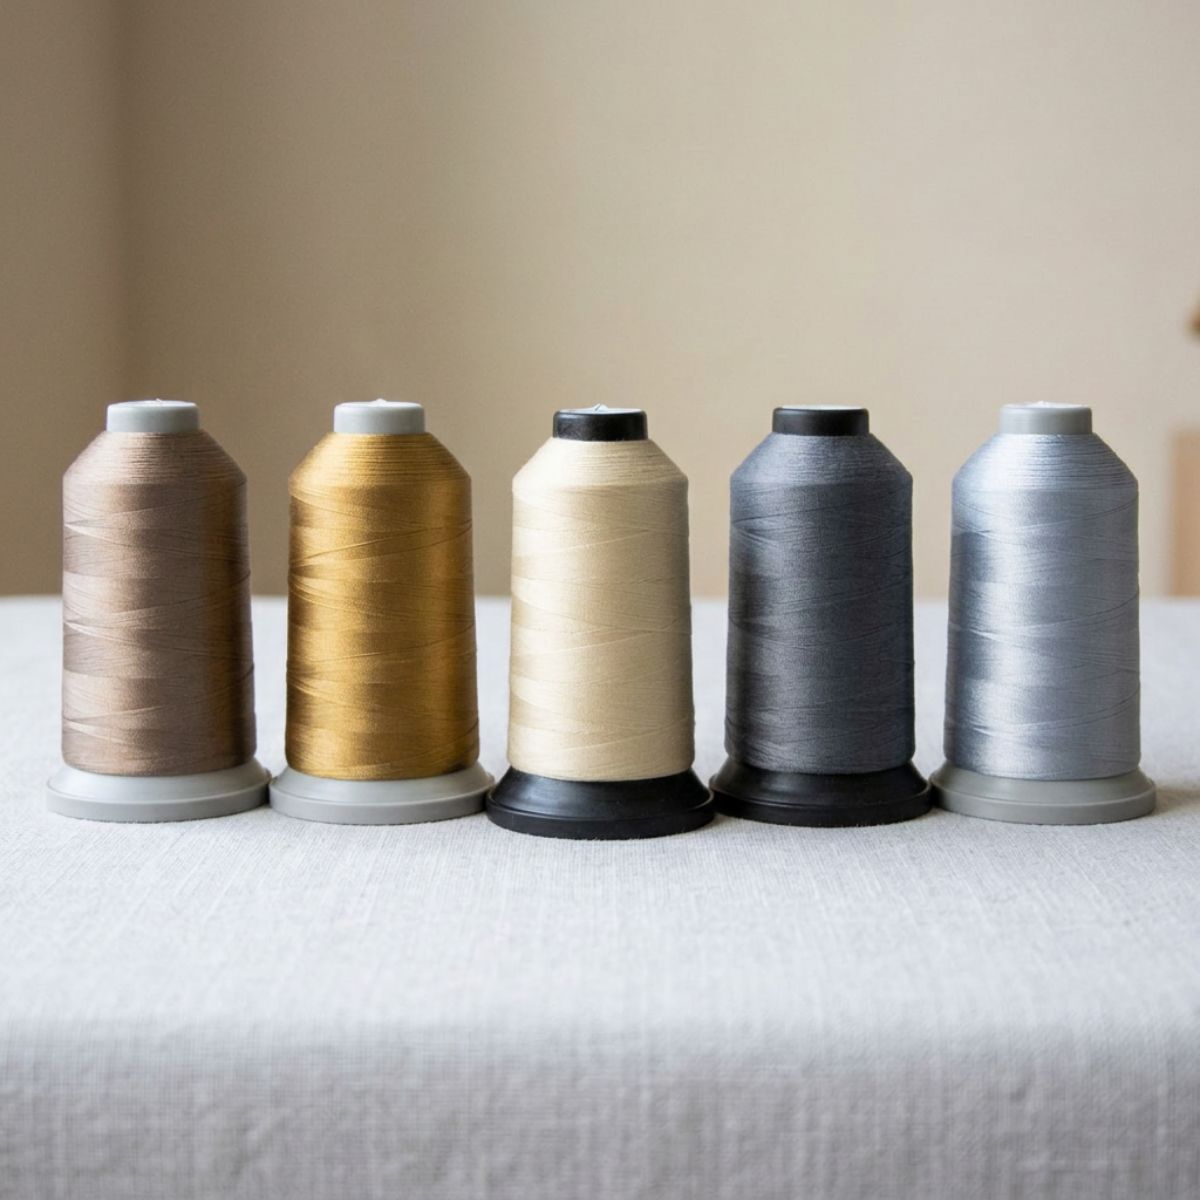
Thread—choose high-quality 100% cotton for durability.
-
Sewing machine—either a standard manual model or a modern computerized version. Don’t forget to put in a new needle. (I prefer a Microtex or Topstitch needle.)
Side‑note: Computerized machines offer a wide range of incredible capabilities that will make the sewing process easier but you can piece a quilt on any machine that has a straight stitch. -
Iron and ironing board—pressing seams is key to a flat, crisp quilt top. This doesn’t need to be big but I recommend not using the ironing board you press your clothes upon. It is too lofty. You’ll get the best results from a hard, flat ironing surface.
Materials
-
Fabric—100% cotton is your best friend: easy to handle, washes beautifully, and comes in endless prints.
-
Batting—the “fluff” inside your quilt (cotton or cotton‑poly blends are ideal for beginners). You won’t need this until much later in the process
-
Backing fabric—something you love peeking from back. Consider a cozy flannel, snuggly microfleece or silky cotton sateen for the back of your quilt.

Step 1: Planning Your Quilt Design
This is where creativity takes flight. Plus, it’s fun!
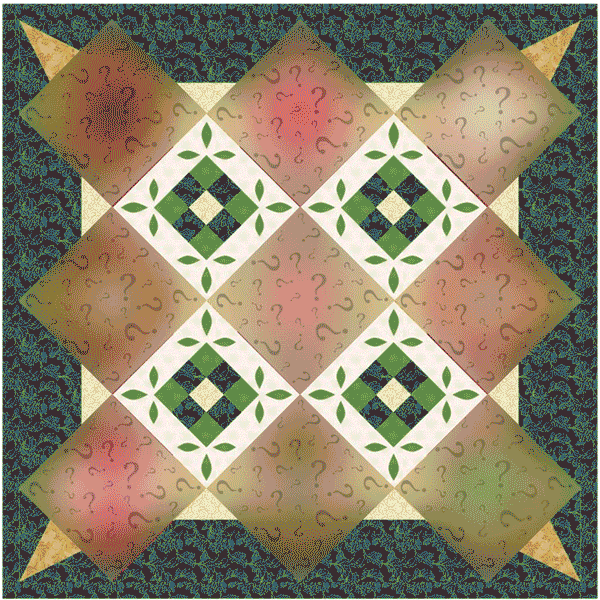
Choosing a Quilt Pattern
-
For your first quilt, I recommend sticking with a professional pattern that features traditional piecing methods that are good for beginners. Quilt Magazines like Fons & Porter’s Love of Quilting will have a notation rating the patterns in each edition by skill level. Remember to look more at the graphic impact of the quilt and not the colorway. You can substitute your own color palette when you select the fabrics for the quilt.
-
Alternatively, you could buy a Quilt Kit. These premade boxes of fabric happiness have everything you need! The fabric is picked out to make a beautiful finish and the pattern is included. It is like having an experienced quilter guiding you with each step. Your local quilt shop would love to show you some kits that are perfect for quilting newbies.

Color and Fabric Coordination
-
Picking your own fabrics is so much fun. Your creativity can shine! Mix prints and solids in small, medium, and large scales for visual interest. In fact, I guide my students to focus first on finding ONE fabric that just makes your heart sing. Look through your choices and you’ll find a fabric that starts to flirt with you. That fabric will be your focal print fabric for your quilt.
-
The next step is to find some friends for it. Think of those fabrics as supporting players in the cast. They should be interesting but they shouldn’t take over the attention from your focal print.
-
I recommend you choose a color palette with contrast. Remember to choose Lights, Medium and Dark fabric tones to help the quilt’s designs “pop”. One tip is to use your phone’s filters to look at the fabric you are considering using the black and white mono filter. It makes it much easier to be sure you have enough contrast with your chosen fabrics.
-
Don’t forget to mix the scale of the prints of your fabrics as well. Aim for a mixture of prints in small, medium, and large scales for visual interest.
Determine the Size of Quilt
Start small if you are just beginning. You’ll get done faster and learn a bunch so you’ll be ready to tackle a bigger project next. You can’t go wrong making a quilt for your favorite kiddo or a quilt for snuggling on the couch.
-
Baby quilt: 36" × 52" or slightly smaller
-
Lap quilt: 50" × 65" or slightly bigger
Tip: Sketch or use an online mock‑up to see how your fabrics play together.

Step 2: Preparing and Cutting the Fabric
Precision here saves you grief later.
Washing (Maybe) and Ironing Fabrics Before Cutting
-
Many folks wash and dry their fabrics first to pre‑shrink and remove sizing. It is never a bad idea to do so however, some quilters skip this step. As a beginner I do recommend you prewash your fabrics as it can your accuracy and will let you know if any of your fabric’s dyes bleed.
-
Press your fabric flat before cutting with a hot iron and oodles of steam. Use spray starch to give it a bit of body that will be beneficial when sewing.
Using Rotary Cutters and Quilting Rulers for Precision
-
Measure twice, cut once is a true adage. Get to know your ruler’s markings. Use as many lines on the ruler as you can to line up your cuts. Hold the ruler with your non dominate hand and open the blade on your rotary cutter with your dominate hand. Roll the rotary cutter in a straight line away from your body. If you are using a long ruler you’ll need to pause in the middle of your cut so you can walk your hand holding the ruler up so you can complete the cut. Using this method will ensures accurate, clean cuts.
Importance of the ¼” Seam Allowance
-
Use a ¼‑inch seam allowance—standard for quilting. Mark this on your machine. Some machines have a built in default 1/4" seam perfect for patchwork. It is a good idea to double check your seam measurements you are getting with your sewing machine before getting too far with your patchwork. You want to know right away if you need to adjust your seam's depth!
-
Consistency here ensures your quilt blocks fit together without distortions. An easy way to test your seam allowance is to cut three 2.5” squares together in a row and measure the middle square when you are done. It should measure 2”. If it doesn’t, adjust your seam allowance accordingly.

Step 3: Piecing the Quilt Top
It’s time to sew your pieces into something beautiful.
Arranging Blocks or Strips
-
Lay out your cut pieces on a flat surface or design wall. Shuffle until the color balance feels right.
Chain Piecing
-
Group your pieces into manageable stacks.
-
Using your sewing machine sew the units together one after another, maintaining your ¼” seam allowance. I recommend chain‑piecing which is when you sew pieces one after another without cutting the thread. This saves time.
-
On a computerized machine, you might select a stitch marked with the letter “P” which will set up your machine’s stitch length for the size your manufacturer recommends for piecing. As you guide the fabric through your machine, let it do the work. You don’t need to push the fabric into the needle or pull it out from the back of the needle. Let the machine work.
-
Remember that there are specialty feet for machines that make maintaining the ¼” seam easier. But you can get a lovely quilt block without it. Both methods work. This guide focuses on the design journey, not machine tech.
-
After sewing two pieces of fabric together, press the seam and open the patchwork so the seam will fall towards the darker fabric.
Tips for Keeping Seams Aligned
-
Nest seams: press seams in opposing directions so they “nest” together, reducing bulk when combining units into blocks.
-
Use pins or clips when necessary to hold blocks in place.

Step 4: Assembling the Quilt Sandwich
This is where the magic of layers begins and your quilt will get that cozy vibe we love.
Layering the Quilt Top, Batting, and Backing
-
Lay down the backing fabric (right side down), then the batting, then your quilt top (right side up). Smooth each layer flat.
Methods for Basting
You will temporarily secure the three layers together to help make the machine quilting on a sewing machine easier. There are three primary ways to baste a quilt together:
-
Pins (“safety pins”): large quilting pins spread evenly, pin through all layers every 4–6 inches. This is my favorite method.
-
Spray adhesive: lightly mist between layers for temporary hold. This is convenient but sticky.
- Thread basting: long, loose running stitches by hand or machine to hold layers together.

Step 5: Quilting the Layers Together
Stitch through all three layers to make your quilt durable and beautiful.
Straight‑Line Quilting (Good for Beginners)
-
Use your machine’s walking foot to quilt straight lines, maybe following seams or creating a modern grid. Easy and forgiving.
Free‑Motion Quilting (Advanced)
-
Lower the feed dogs on your sewing machine, pop on your machine’s free‑motion presser foot, and move the quilt sandwich manually under the needle for swirls, loops, or custom motif. This takes practice but is highly expressive.
Differences Between Manual and Computerized Machines for Machine Quilting
-
Manual machines: you select stitch length and stitch type with knobs or dials; you guide everything.
-
Computerized machines: you can choose a pre‑programmed quilting stitch or pattern. Some even have stitch regulation
-
Embroidery machines: Large hoops offer the ability to use quilt in the hoop with the machine doing all the work.
-
Long Arm and Mid Arm machines: If you find you love the machine quilting process, consider a stand up quilting machine. It is a way to doodle with thread that can be quite satisfying.
Managing the bulk of the sandwiched quilt as you maneuver it in the machine can be challenging. Set your machine up on a large table to support the quilts weight as you stitch. Remember to guide the fabric, don’t push it through the machine. Keep the pressure light, guide with smooth motion, and pause frequently to rotate the quilt as needed.

Step 6: Binding and Finishing
Time to give your quilt its clean, polished edge while keeping the batting where it belongs.
Trimming Excess Batting and Backing
-
Use a ruler and rotary cutter to square up the quilt; trim off extra backing and batting to match the quilt top edges precisely.
Attaching the Quilt Binding (Double‑Fold Method)
-
Cut binding strips- usually 2½" wide. Join end‑to‑end with diagonal seams.
-
Press them in half lengthwise (folded binding).
-
Machine‑stitch lining up the raw edges of the binding with the raw edge of the front of the quilt top, mitering corners.
-
Fold binding over to the back and hand stitch for an invisible finish, or machine‑stitch if preferred.
Final Stitching: Don’t Forget the Label
-
If your machine can stitch letters, stitch out a label on fabric with a medium weight tear away stabilizer.
-
Or, use a fabric marker and write your label by hand. Set the ink with an iron.
-
Press the edge of the fabric label under ¼” all the way around and hand stitch the label to the back of the quilt.
Common Beginner Mistakes to Avoid
Here are some pitfalls to steer clear of:
-
Skipping ironing: unpressed fabric leads to misaligned blocks. Always press as you go. Remember you are pressing and not ironing. You can distort the fabric if you are too aggressive.
-
Not securing layers well: if your layers shift, your quilting will be wavy. Baste thoroughly and use a walking foot on your machine.
-
Crooked seams: inconsistent seam allowance ruins block alignment. Use guides and pins to stay true to that ¼” seam allowance.
-
Expecting perfection: Give yourself the grace and forgiveness to learning something new. Remember perfection isn’t the goal- joy is!

Celebrate Your Finished Quilt!
You made it! Every stitch tells a story. It celebrates your creativity and dedication. Step back and admire your quilt. Wrap yourself in it. Post it on social media (tag Quilted Joy, of course!).
And then? Keep going! There are so many things to try in the quilting space. Keep an eye out on a pattern or fabric that makes your heart sing.
I’ll let you in on the biggest quilty secret out there. The world is full of quilters just like you who would love to meet you and share in your quilting journey. Join a guild or take classes at your local quilt shop. Attend a quilt show and seek inspiration in all things. Your quilting journey is full of infinite possibilities!

I’m Angela- Co-host of the Fons & Porter’s Love of Quilting PBS show. APQS Long arm Dealer and Educator. Triplet Momma. Designer. Thread Bimbo.

Leave a Reply